Mystic mountains, ocean-side onsen, and the best hospitality. The best reasons to visit Yakushima.
Read moreCycling the Shimanami Kaido
Japan is known as the country of 7,000 island, 6,852 to be precise. But where are all these islands exactly?
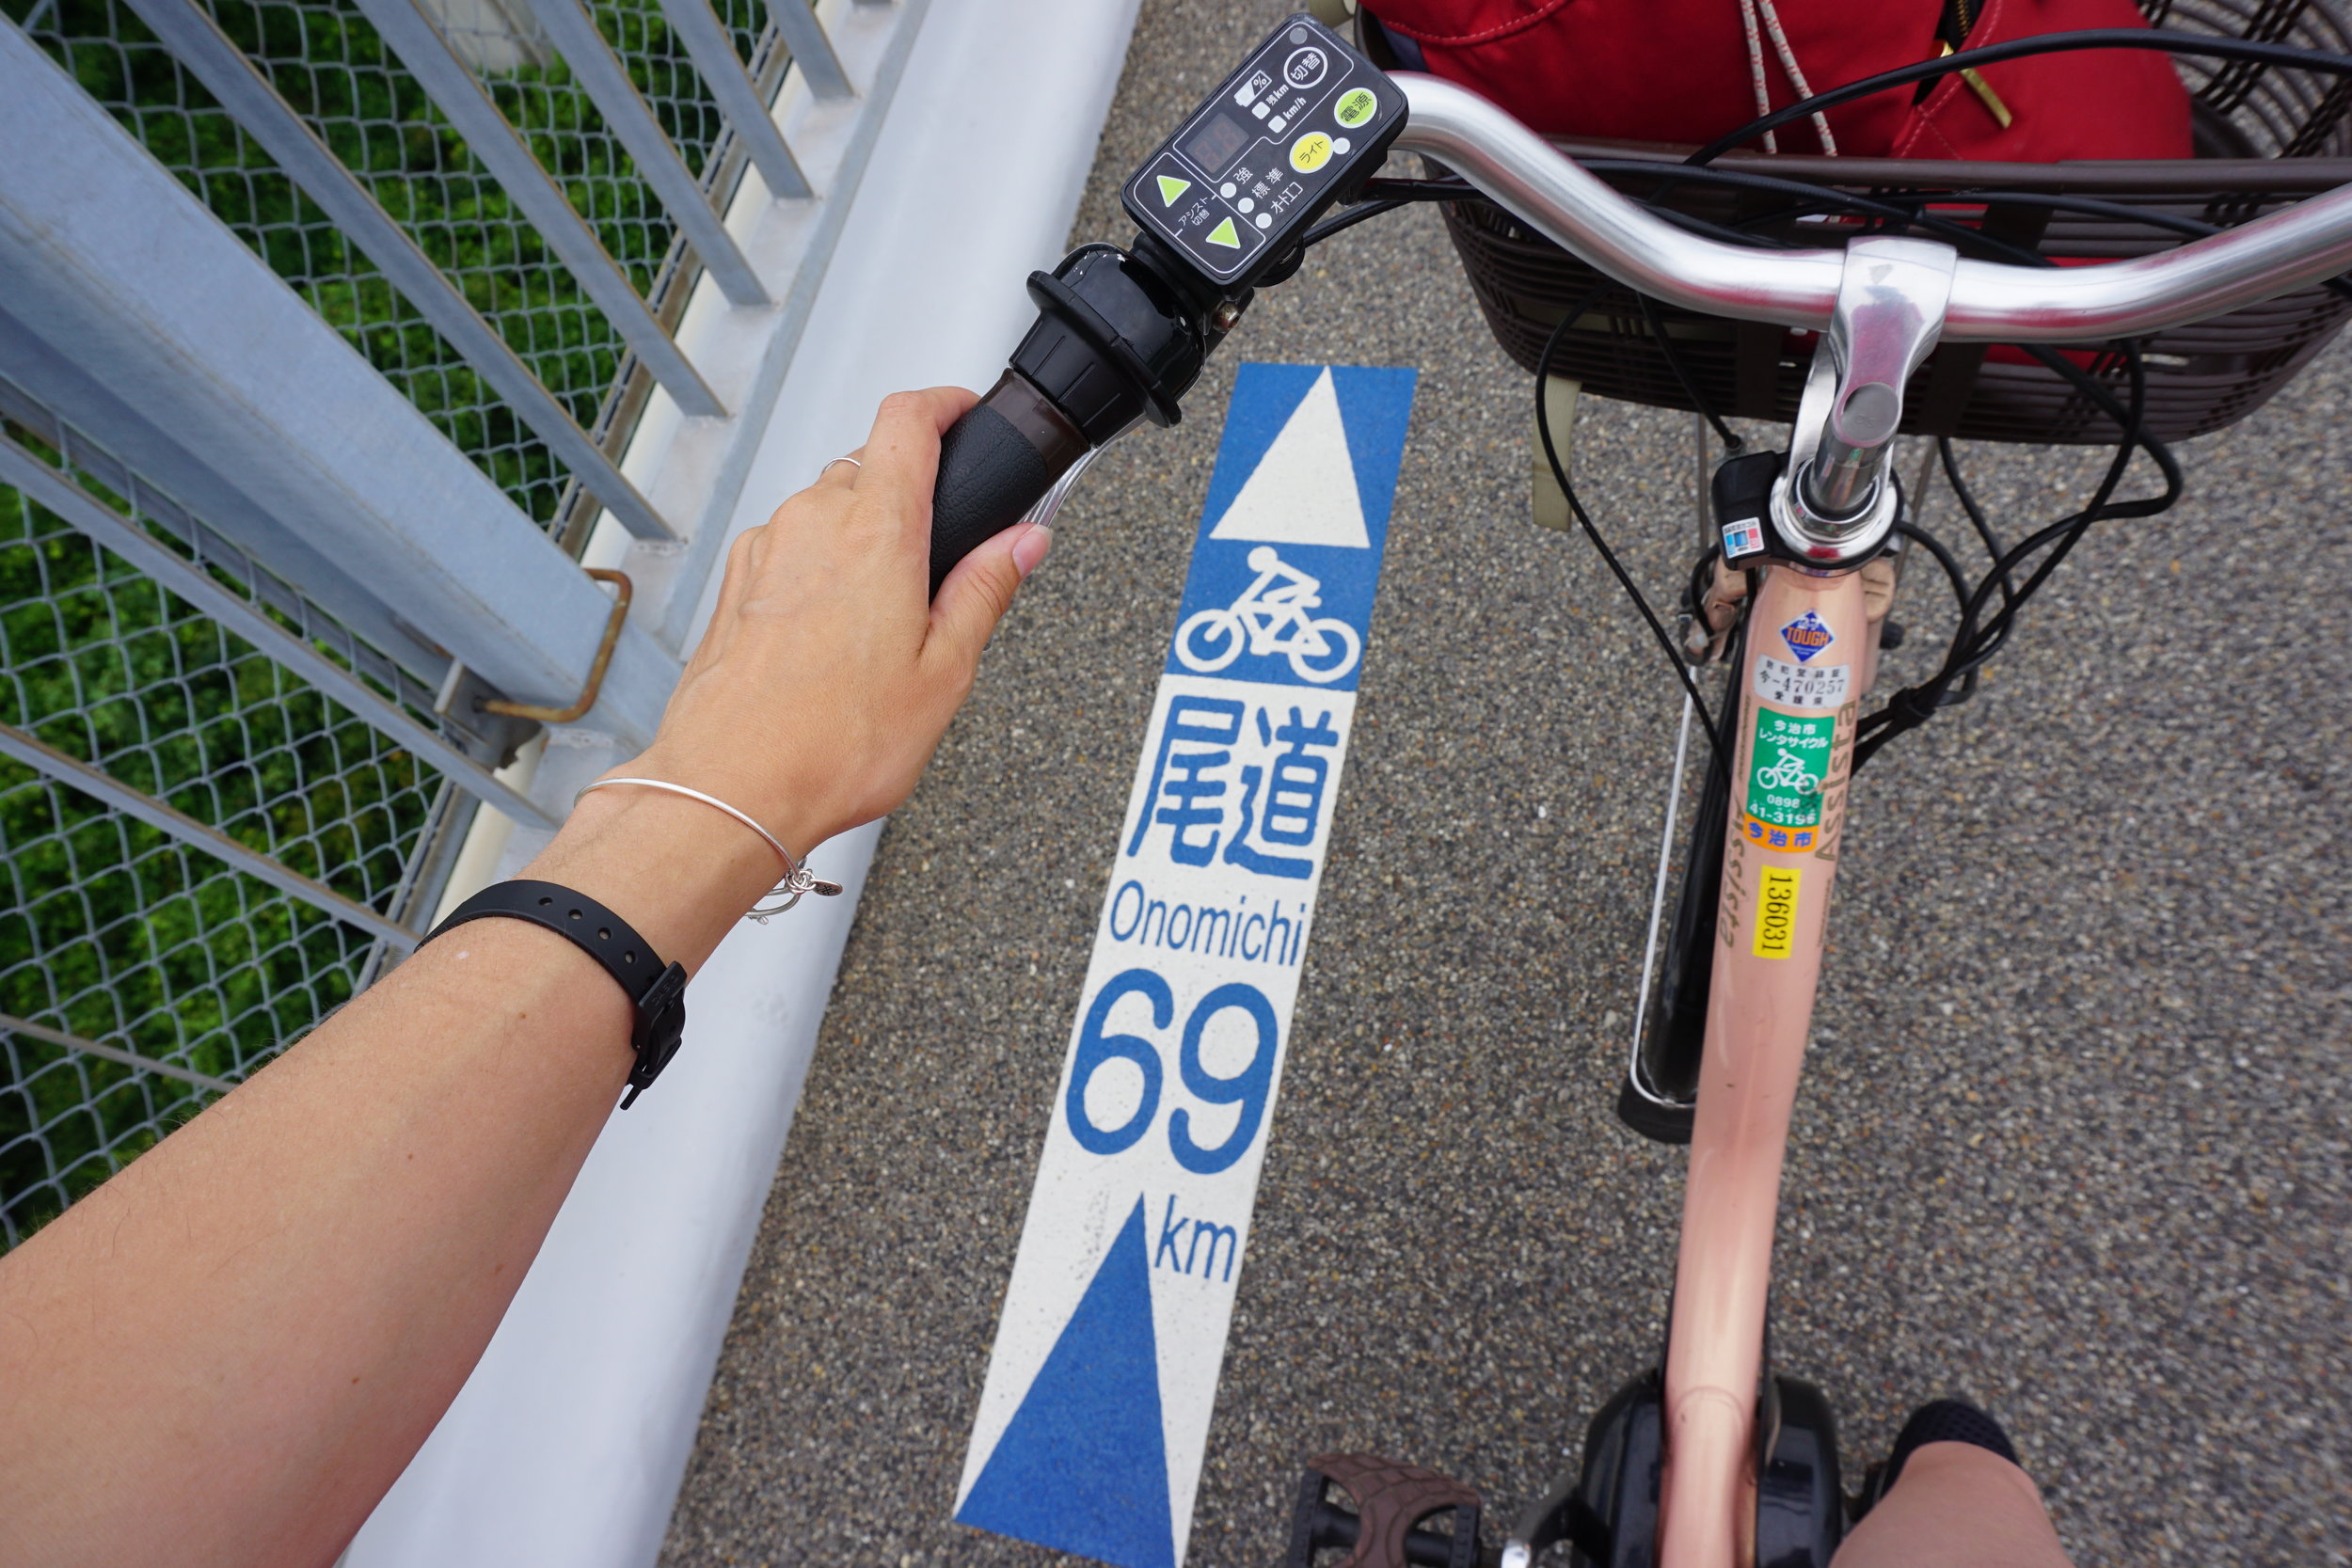
We think we found them, or at least a good portion of them, while cycling the Shimanami Kaido from Onomichi to Imabari. The Shimanami Kaido is a highway connecting Hiroshima Prefecture to Ehime Prefecture in Shikoku. It was built with cyclists in mind, as there is a very clearly marked path for the entire 70KM. Along the way you cross six architecturally-unique bridges and from the bridges you can see the green/blue ocean dotted with countless volcano-shaped islands.
The waterways running between the islands are teaming with life: cargo ships moving majestically from port to port, fishing boats out checking their nets, and teenagers taking advantage of the sun to do a little wakeboarding.
Cycling the Shimanami Kaido gives you a glimpse into a pocket of Japan that changed drastically since industrialization, but hasn't caught up to Tokyo, Osaka or even Fukuoka in terms of pace of life and density of the population. Still plenty of green space here.
It's also a region that residents are surprised foreigner's pick to visit - "Why here?" residents ask.
Well, because…...it’s scenic, an experience of rural Japanese life that isn't so far out of the well and well connected, it’s not an intimidating distance by bike, very accomplishable, the architecture of the bridges is iconic, the area has a rich history and there is delightful Japanese hospitality to be experienced along the way. It's an easy decision really.
If you are thinking of trying to fit this experience into your itinerary - here is a bit of information to help you do that.
Shimanami Kaido Itineraries
The whole route is about 70 KM (43 miles), and can be covered in one day, but doesn’t have to be. Below are a few different ways to incorporate the Shimanami Kaido into your Japan itinerary.
Half-Day
28.5 KM
1. Half-Day - Electric Bicycle - Distance 28.5KM
This itinerary has you starting and finishing in Onomichi. It enables you to use electric cycles and takes you across a few of the bridges. I would recommend this for someone who is interested in cycling, but doesn't want to commit to the distance. It's a nice
- AM - Have a hearty breakfast and pick up some water and snacks for the road.
- 9:00 - Pick-up bikes from rental store at Onomichi Port
- 9:15 - Ferry from Onomichi to Setoda [Ferry Schedule]
- 9:54 - Arrive in Setoda
- Explore around Setoda - Kosanji Temple and Hirayama Ikuo Museum are not to be missed
- 12:00/13:00 - Start to cycle back toward Onomichi (if you are cycling at 10KM per hour it should take about three hours to get back)
- Cross the Ikuchi Bridge and Innoshima Bridge before ferrying from Mukaishima to Onomichi
- 15:00/16:00 - Return cycles to the rental station where you picked them up!
- Potentially stay the night in Onomichi - there are some great views and good baths to be had
One-Day
41.5 KM or 48 KM
2. One-Day - City Bike (w/ basket) - Distance 41.5KM or 48KM
The beauty of this plan, is it gives you a lot of freedom around where you start and finish. If you rent a regular bicycle you can drop if off at any of the terminals along the way. In my opinion the bridges between Ikuchijima to Imabari were more architecturally stunning and so I would focus my time on them. In this example, you start from Imabari, but you could also start from Onomichi and accomplish the same route.
- Let's imagine you spent the night before the ride in Matsuyama after ferrying over from Hiroshima - after waking up and having a good breakfast you would make your way to JR Matsuyama Station and take the Yosan-line Limited Express bound for Imabari.
- 8:10 - Train departs Matsuyama for Imabari
- 8:46 - Train arrives at Imabari
- 9:00 - Pick-up bicycles at the rental terminal at the train station
- Bike from Imabari Station to Setoda Port (48KM)
- Cycling at 10KM an hour this would take almost five hours
- Cross the Kurushima-Kaikyo, Hakata Oshima and Tatara Bridges
- Explore around Setoda (Kosanji Temple + Hirayama Ikuo Museum)
- 18:00 - Return your bicycles to the rental station by Setoda Port before it closes
- 18:40 - Ferry from Setoda Port to Onomichi (arriving at 19:19)
- Alternatively, you could stay at one of the Ryokan on Ikuchijima and return to Onomichi the following day
Two-Days
70 KM
3. Two-Days - City Bike (w/ basket) - Distance 70KM
If your itinerary allows for more time along the road, all the better. That way you can move through the islands slowly, and give yourself time to deviate from the path to explore. You'll need to rent a bicycle that can be dropped off in a different place then it was picked up. I would also recommend having a basket on your bike, so you don't have to carry things on your back while you ride. City bikes have a basket and can be dropped off anywhere along the course, so fit this itinerary well!
- Day 1 : Onomichi to Setoda (28.5 KM)
- 9:00 - Pickup bicycles from rental station by Onomichi Port
- Ferry from Mukaishima to Onomichi and then bike across the Innoshima Bridge and Ikuchi Bridge
- Stop along the way for Botanical Gardens and mountain top views
- Arrive in Setoda - visit the local sites (Kosanji Temple + Hirayama Ikuo Museum)
- Check-in to your ryokan, have a nice bath and delicious dinner
- Day 2: Setoda to Imabari/Sunrise Itoyama (48KM/41.5 KM)
- Enjoy breakfast at your ryokan and then get on the road
- 9:30 - Cycle from Setoda to Imabari crossing the Tatara, Hakata-Oshima and Kurushima-Kaikyo Bridges
- Stop along the way for mikan ice cream, beaches and sweet cafes
- 18:00 - Return cycles to Sunrise Itoyama (just off the Kurushima-Kaikyo Bridge) or to Imabari Station Terminal
- Spend the night in Imabari or train over to Matsuyama and stay there
One-Day
70 KM
4. One-Day - Cross Bike - Distance 70KM
This is the simplest of all the itineraries. It is for a physically fit person that wants to accomplish the course in one day. You can start from either Imabari or Onomichi - although the onramp to the Kurushima-Kaikyo Bridge can be intimidating, so it may be better to start from Onomichi and go down it rather than up!
- Pick-up bikes the night before your ride, so you can get a head start on the day.
- 8:00 - After a hearty breakfast, start out on the road
- Work your way across the bridges, stopping for photos, snacks and potentially a sight seeing spot or two (time allowing).
- If you are cycling at 10km per hour you it will take between 7 - 7.5 hours to cycle the whole way.
- 18:00 - Be sure to give yourself plenty of time to arrive at your destination and return your bicycles to the store by 18:00 when they close.
- If you are renting from Giant you can pay 3000 yen extra to be able to drop it off in a different location than you picked it up! Definitely recommend this option, this way you get the advantage of a nice bike with lots of gears, and the convenience of returning it when you finish.
- If you rent a normal bicycle from the Shimanami Rent-a-Cycle, you can leave your bike at any station along the way
Rental Cycle Options
***Recommend reserving bicycles ahead of time****
- Giant - a range of cross bikes, more gears, lighter bikes, no baskets. Can pay 3000yen extra to drop off at a different location than where you picked up.
- Shimanami Kaido Rent-a-Cycle - range of options from electric, to tandem, to city bikes. Less expensive than Giant. Different bikes are available at different terminals, so reserving ahead is crucial.
- You can pick-up a map of the area/course at any of the rental cycle centers or tourist information centers.
Accommodations
Onomichi
- Bella Vista - Gorgeous Seaside Hotel
- Setouchi Minato no Yado - Minimalist, traditional house
- Airbnb - Entire house, bright and airy, sleeps four
Ikuchijima
- Suminoe Ryokan - Right next to Setoda Port, traditional ryokan, lovely garden and sea views
- Juicy Fruits - Closer to Sunset Beach, man who runs the pension is a farmer and will share oranges when in season!
- "Log House" Airbnb - Entire house, air mattresses for beds, sleeps eight, 10 minute cycle from the port
- "Koune Paradiso" Airbnb - Private room, sweet host, provide food
Imabari/Matsuyama
- Shimanami Guesthouse Airbnb, Imabari - Entire house, sleeps five, free parking available, right in front of Imabari Station
- Shimanami Cycling Airbnb, Imabari - Entire home, sleeps eight, 20 minute walk from station
- Sen Guesthouse, Matsuyama - Bunk or private rooms available, lovely staff and roof to watch the sunset from
- Tatami Suite Airbnb, Matsuyama - Private room, sleeps 5, engaged hosts, close to the castle in Matsuyama
Here is the best site with list of accommodations along the Shimanami Kaido.
Access
If you are moving around the country by train, here are recommended routes to access the Shimanami Kaido.
- Hiroshima → Onomichi
- Hiroshima to Shin-Onomichi (31mins) by Shinkansen
- Bus or taxi down to the rental-cycle center by the Onomichi Station and Ferry Port (10min drive)
- Okayama → Onomichi
- Okayama to Onomichi Station (1hr 18mins) by JR Sanyo Line
- 5 minute walk to rental-cycle center
- Matsuyama, Shikoku → Imabari
- Matsuyama to Imabri (35 mins) by JR Limited Express Shiokaze
- Kyoto → Onomichi
- Kyoto to Fukuyama (1hr 17min) by Shinkansen
- Fukuyama to Onomichi (19 mins) JR Sanyo Line
- 5 minute walk to rental-cycle center
Shipping Luggage
It would be cumbersome to carry your luggage with you while biking the Shimanami Kaido. Luckily though, Japan makes it super easy to send it ahead. You can ship your luggage from any hotel or convenience store. They say to leave at least 48 hours for luggage to arrive, but I think 24+ hours is enough if you are shipping within the region (for example: Hiroshima to Onomichi). If you are shipping from a hotel, they will help you fill out the form, you just need to give them the address, contact number and delivery date desired.
If you are sending from a convenience store, then you'll need to go and request a haitatsu (配達) form - the blank one below is called a yu-pa-ku.
I've filled in the below form with the address of Suminoe Ryokan on Ikuchijima. You start with the zip-code, then the address, then the name of the hotel and finally the phone number. Do that for the destination as well as the original location. The attendant will help you fill in the arrival date, size of luggage, arrival time, etc.
It's very reasonable to ship luggage, for a 30 liter backpack I've paid about 1,300-2,000 JPY. So worth it to not have to worry about carrying everything!
BeHere's Winter-Hokkaido Guide
This past February BeHere made our second journey to Japan's northern most land of Hokkaido. The first trip was in January of 2016 to go skiing in Niseko. I’d heard that it had some of the best powder in the world and as a newbie, I wanted something really soft to fall into. The ski did not disappoint and I loved every second of pizza’ing my way down the mountain overlooking Hokkaido’s version of Mt Fuji, Mt Yotei. I highly recommend individuals interested in skiing make a trip to Niseko. And since you've come all the way North, there are a few other destinations you should visit.
This second trip focused on the other amazing winter attractions Hokkaido has to offer. I built my itinerary around the annual Snow Festival in Sapporo and also visited Otaru, Yoichi, Abashiri, and Utoro along the way. Again. I loved every second of winter in Hokkaido. It was like living in a snow globe. At the end of this post you'll find our Google Map with all the restaurants, attractions and cafes we loved in Hokkaido.
Sapporo
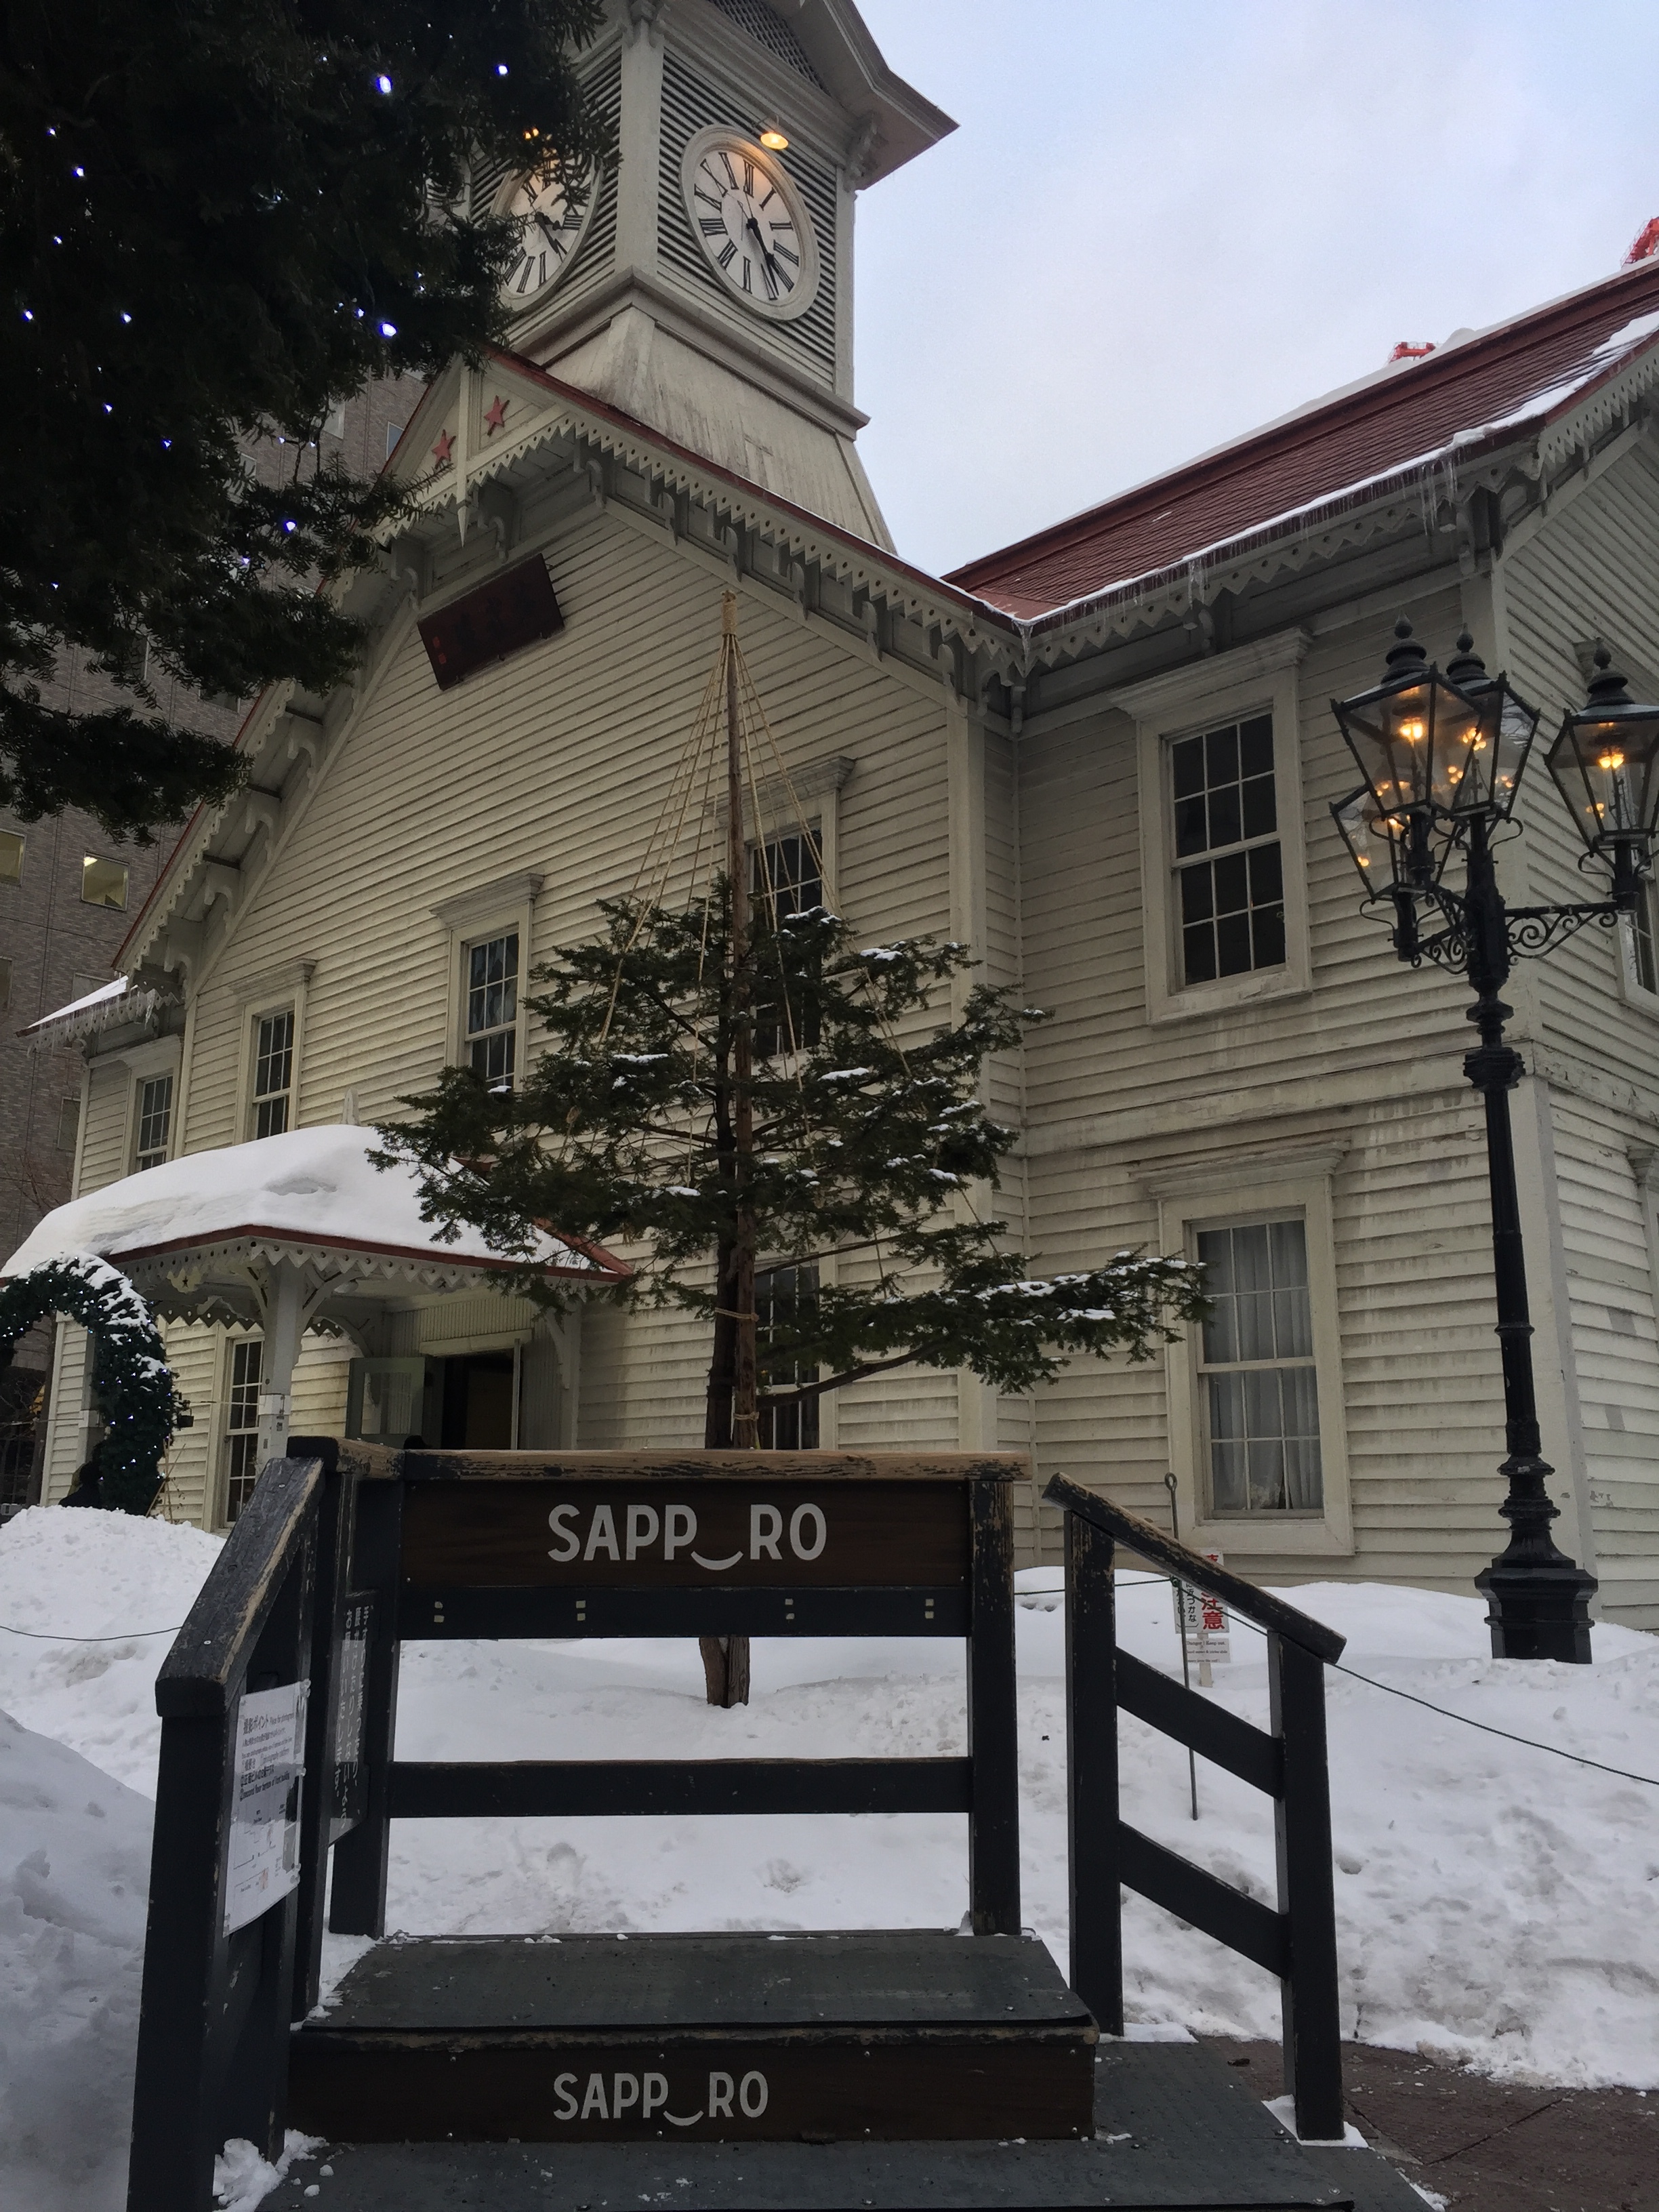
First stop on the adventure was Sapporo. It’s a very modern and vibrant city, the largest in Hokkaido. In the summer I can imagine it full of beer gardens and more manageable summer temperatures. But right now it’s snowy and icy. There are convenient sand stations on most corners and I was amazed to see concerned citizens sprinkling the sand on icy patches on their way to and fro.
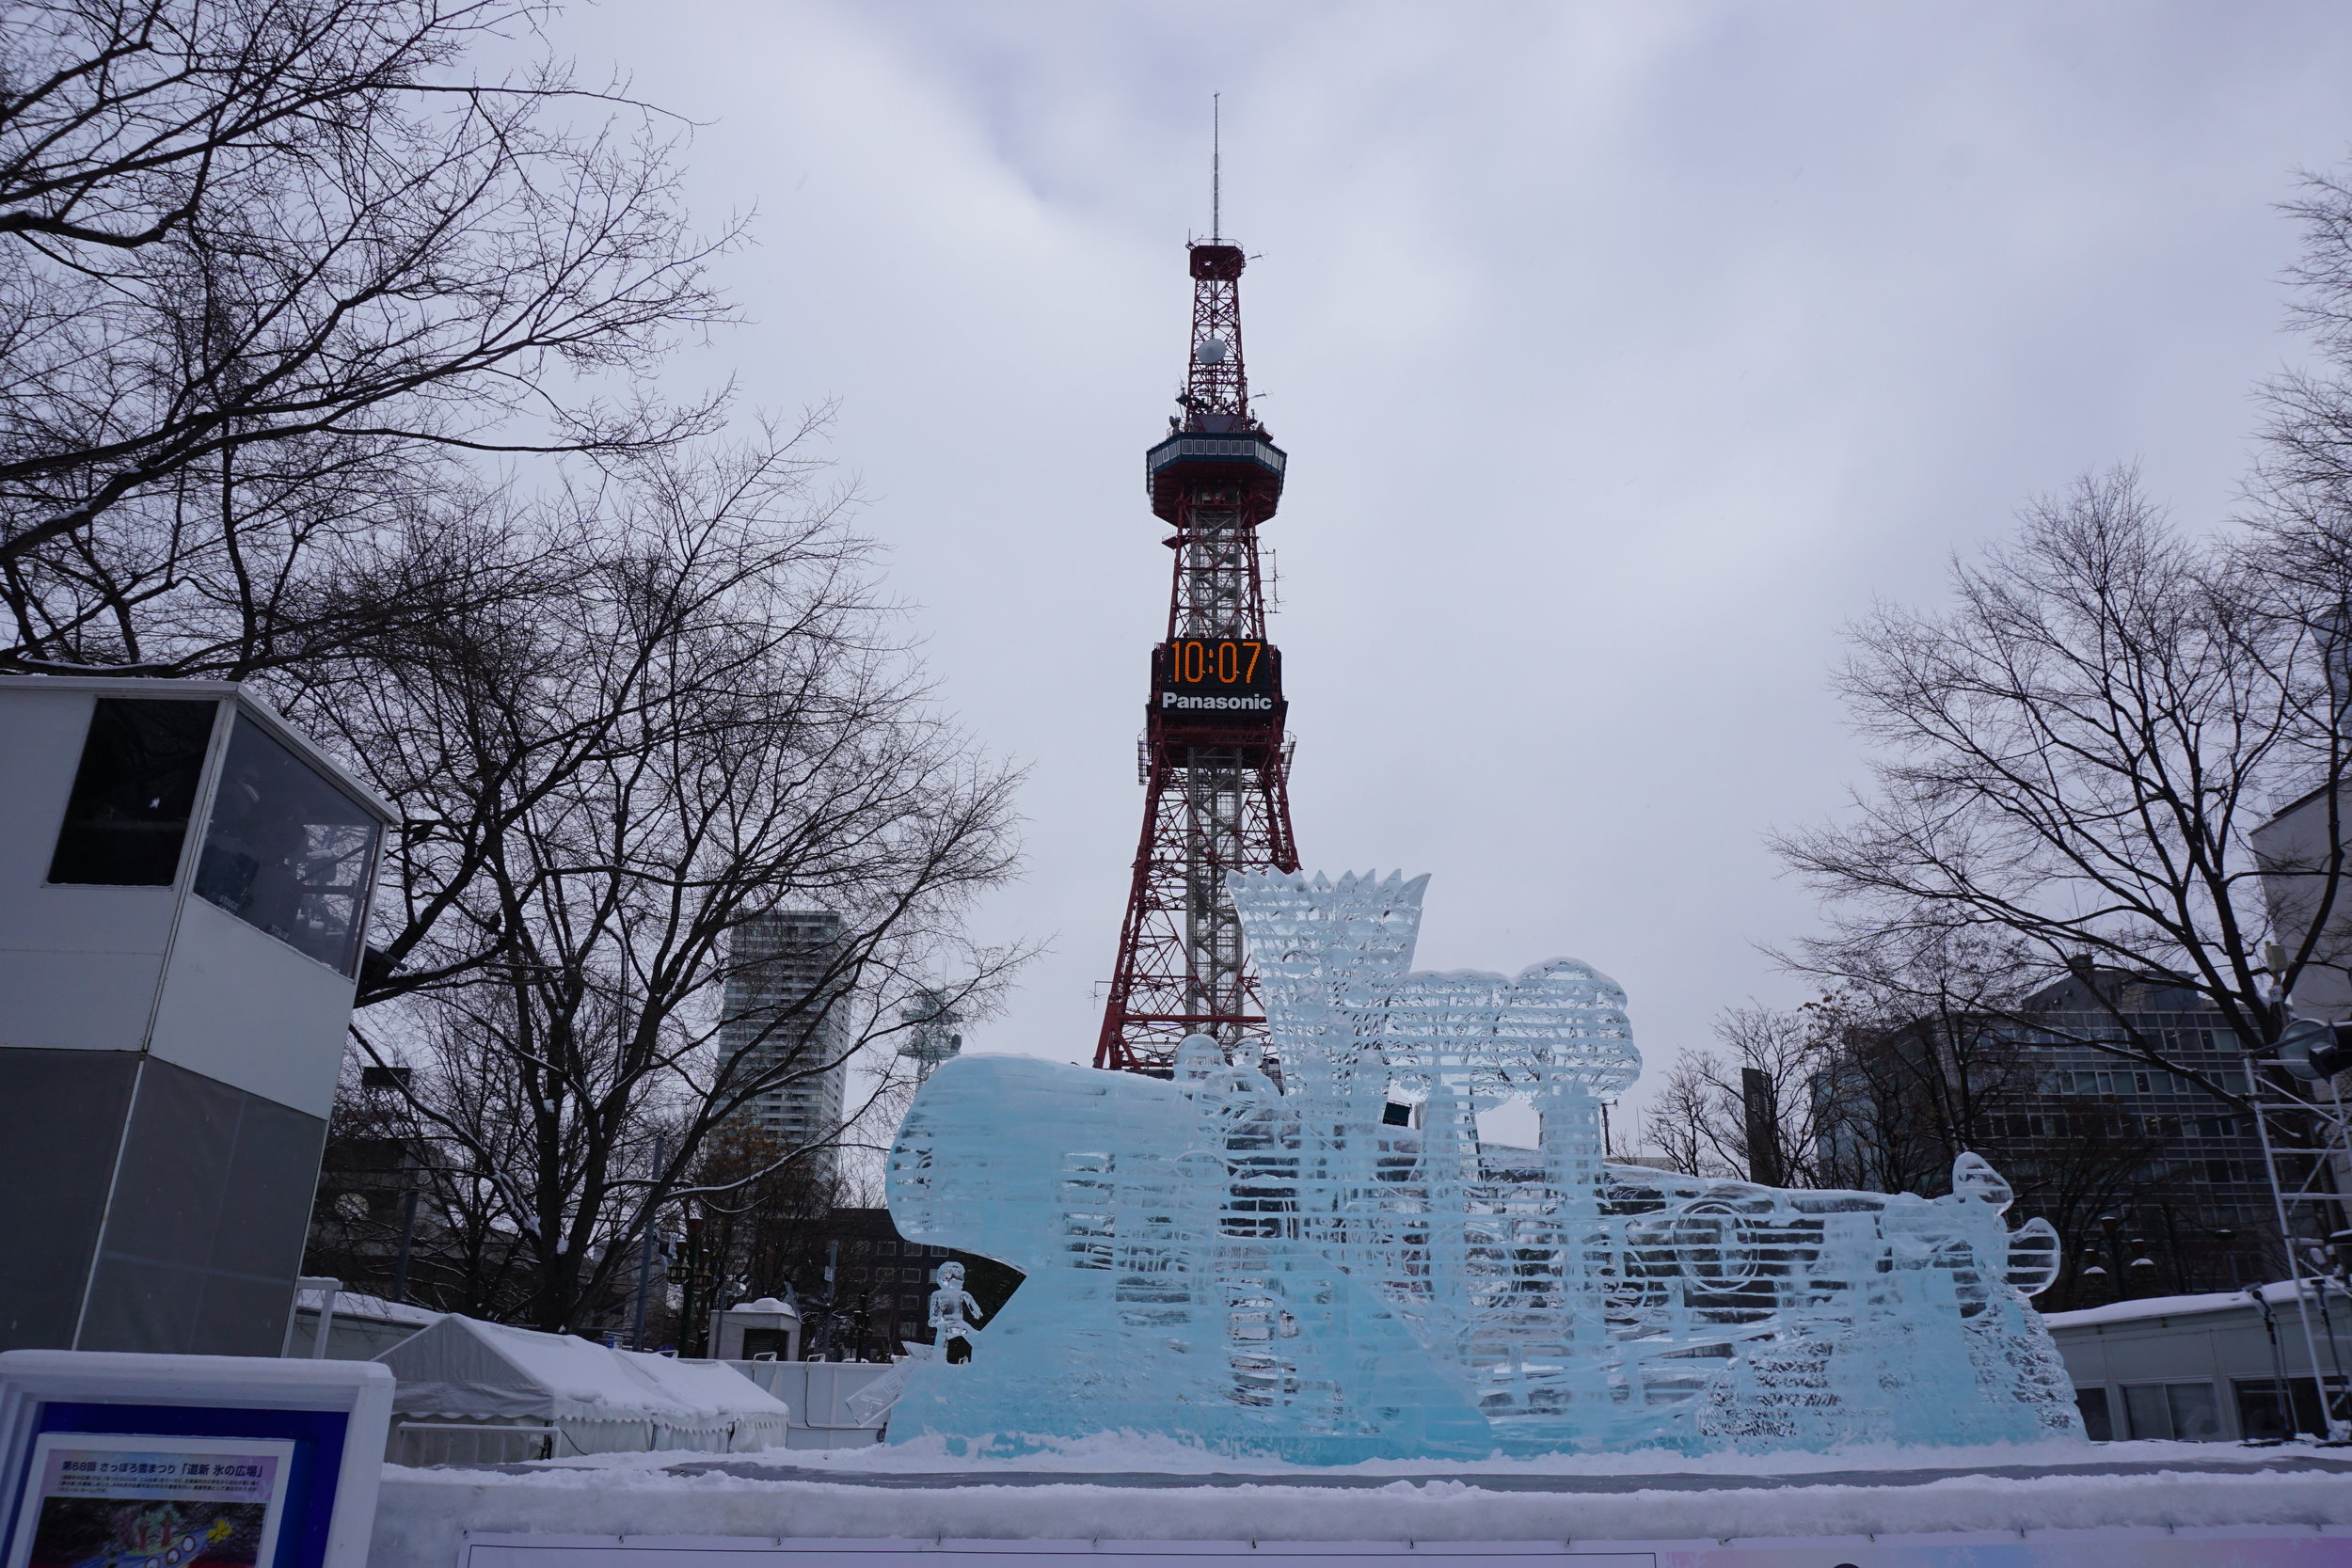
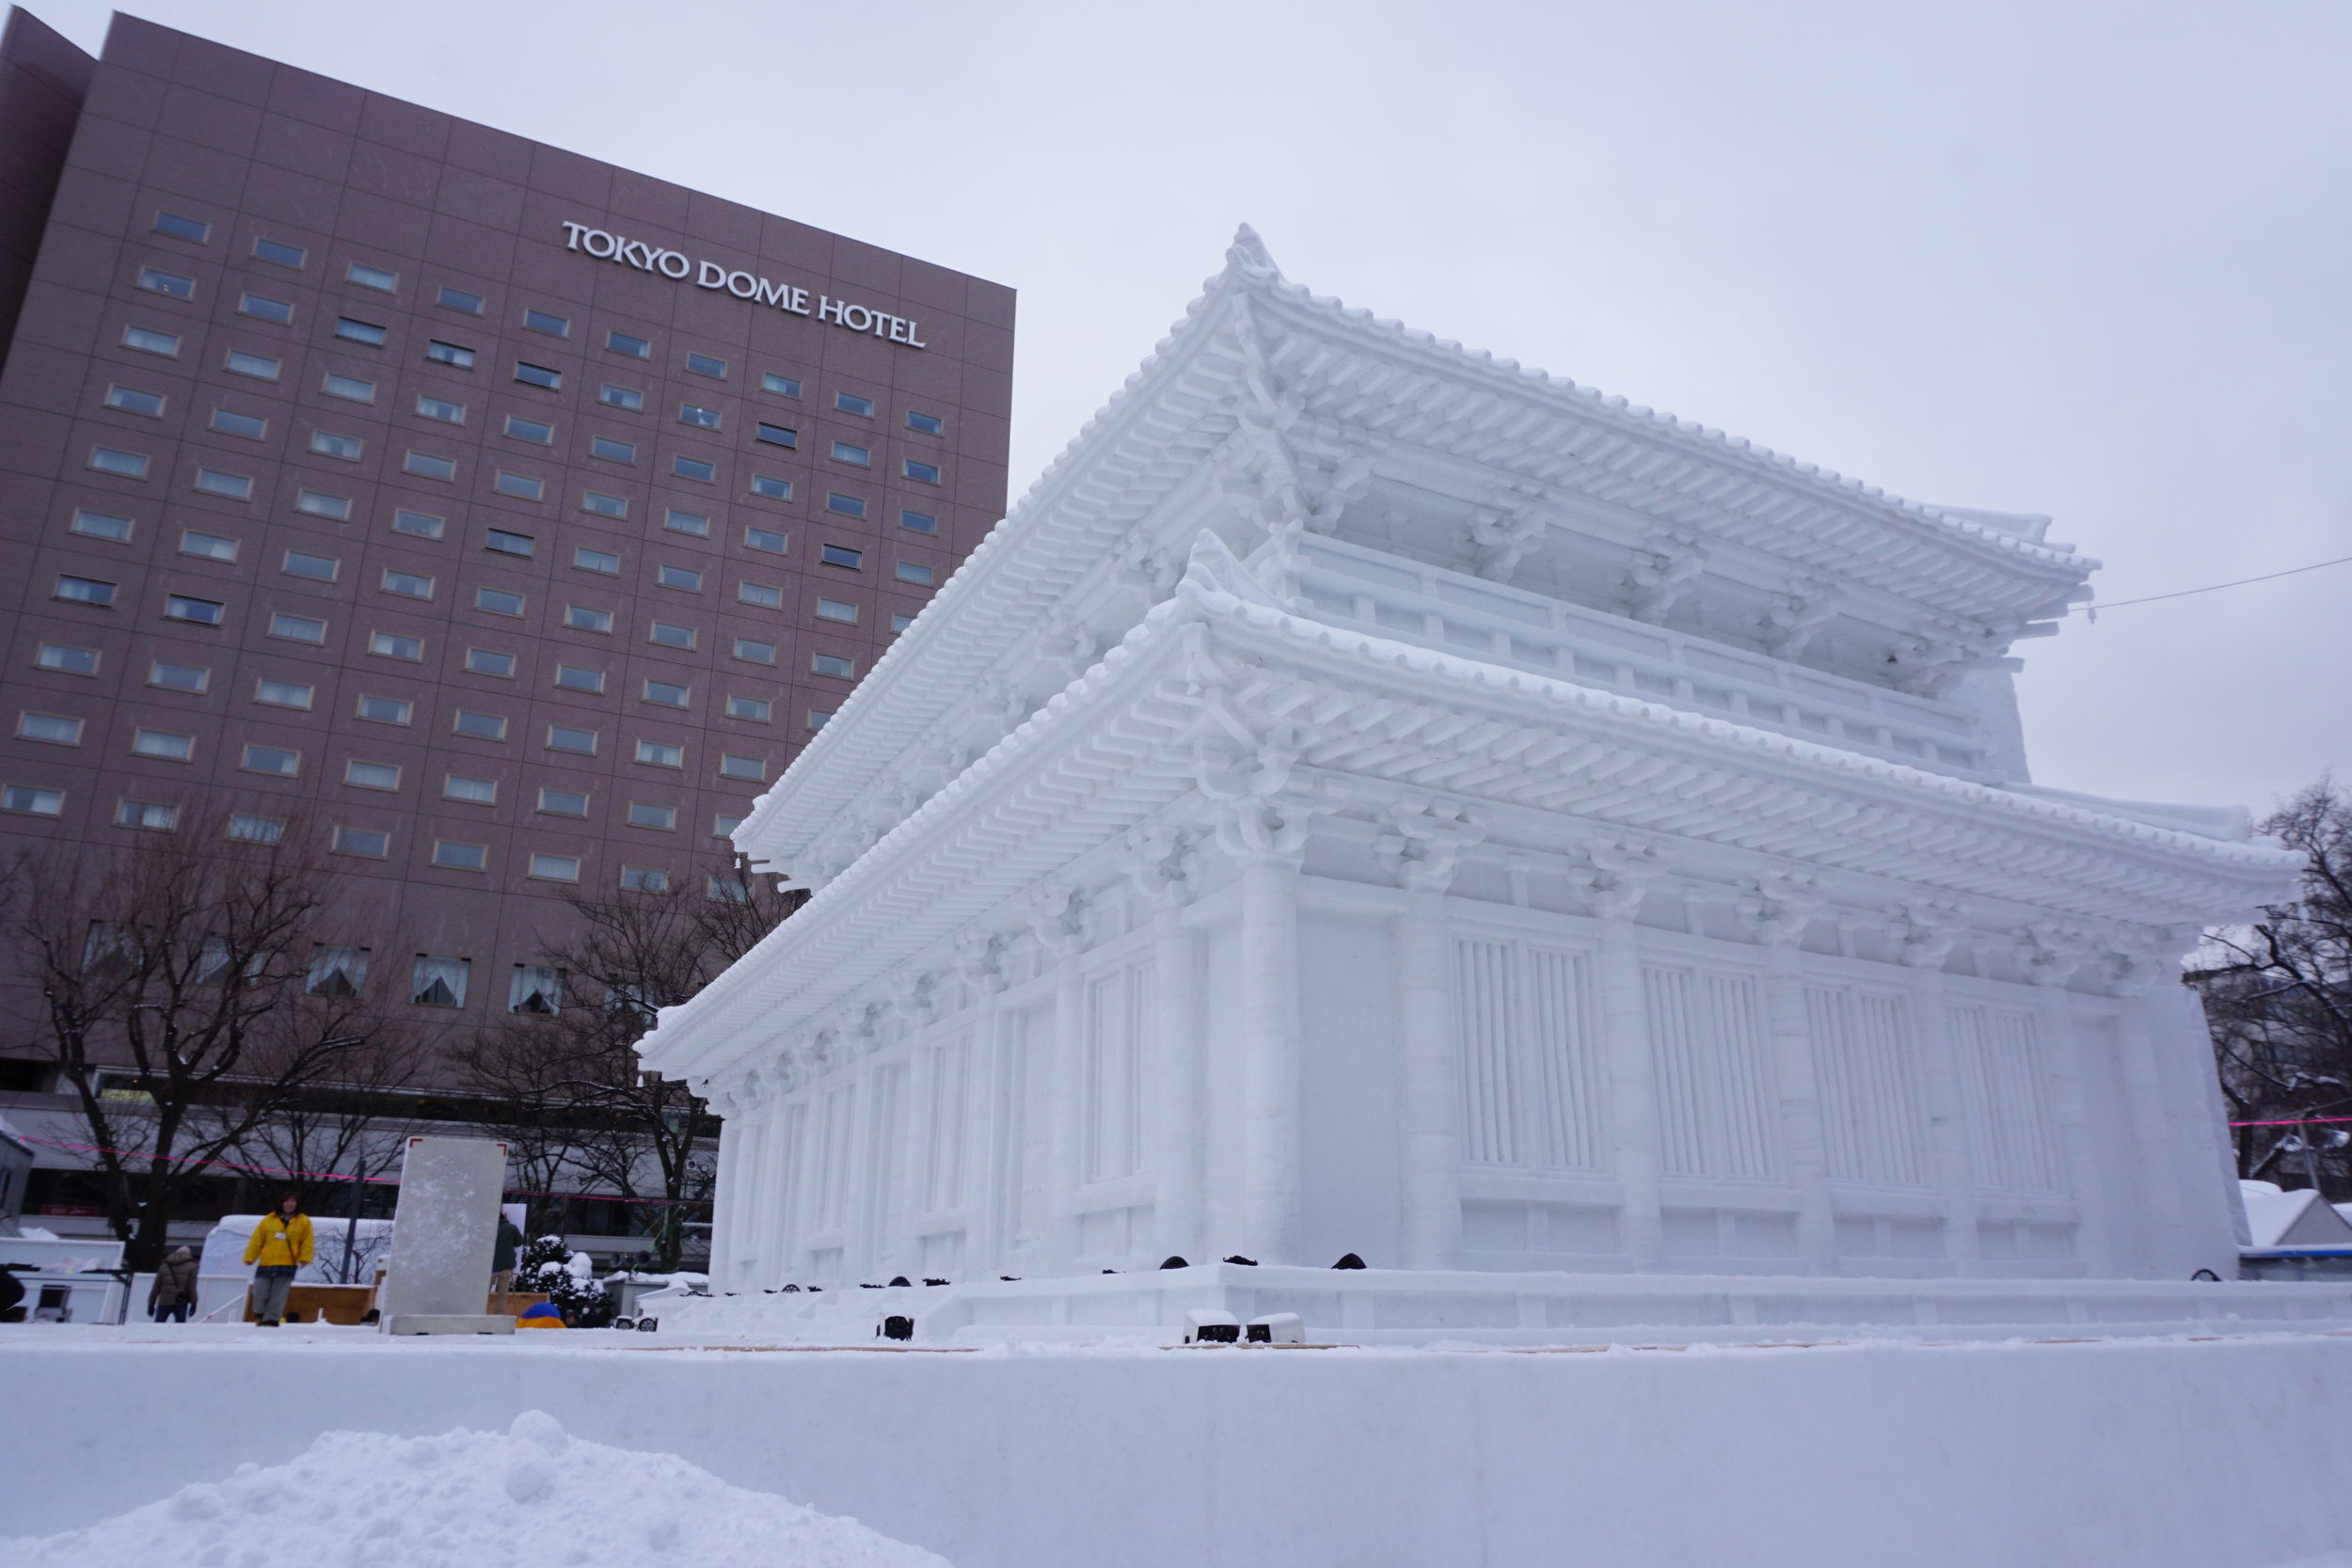
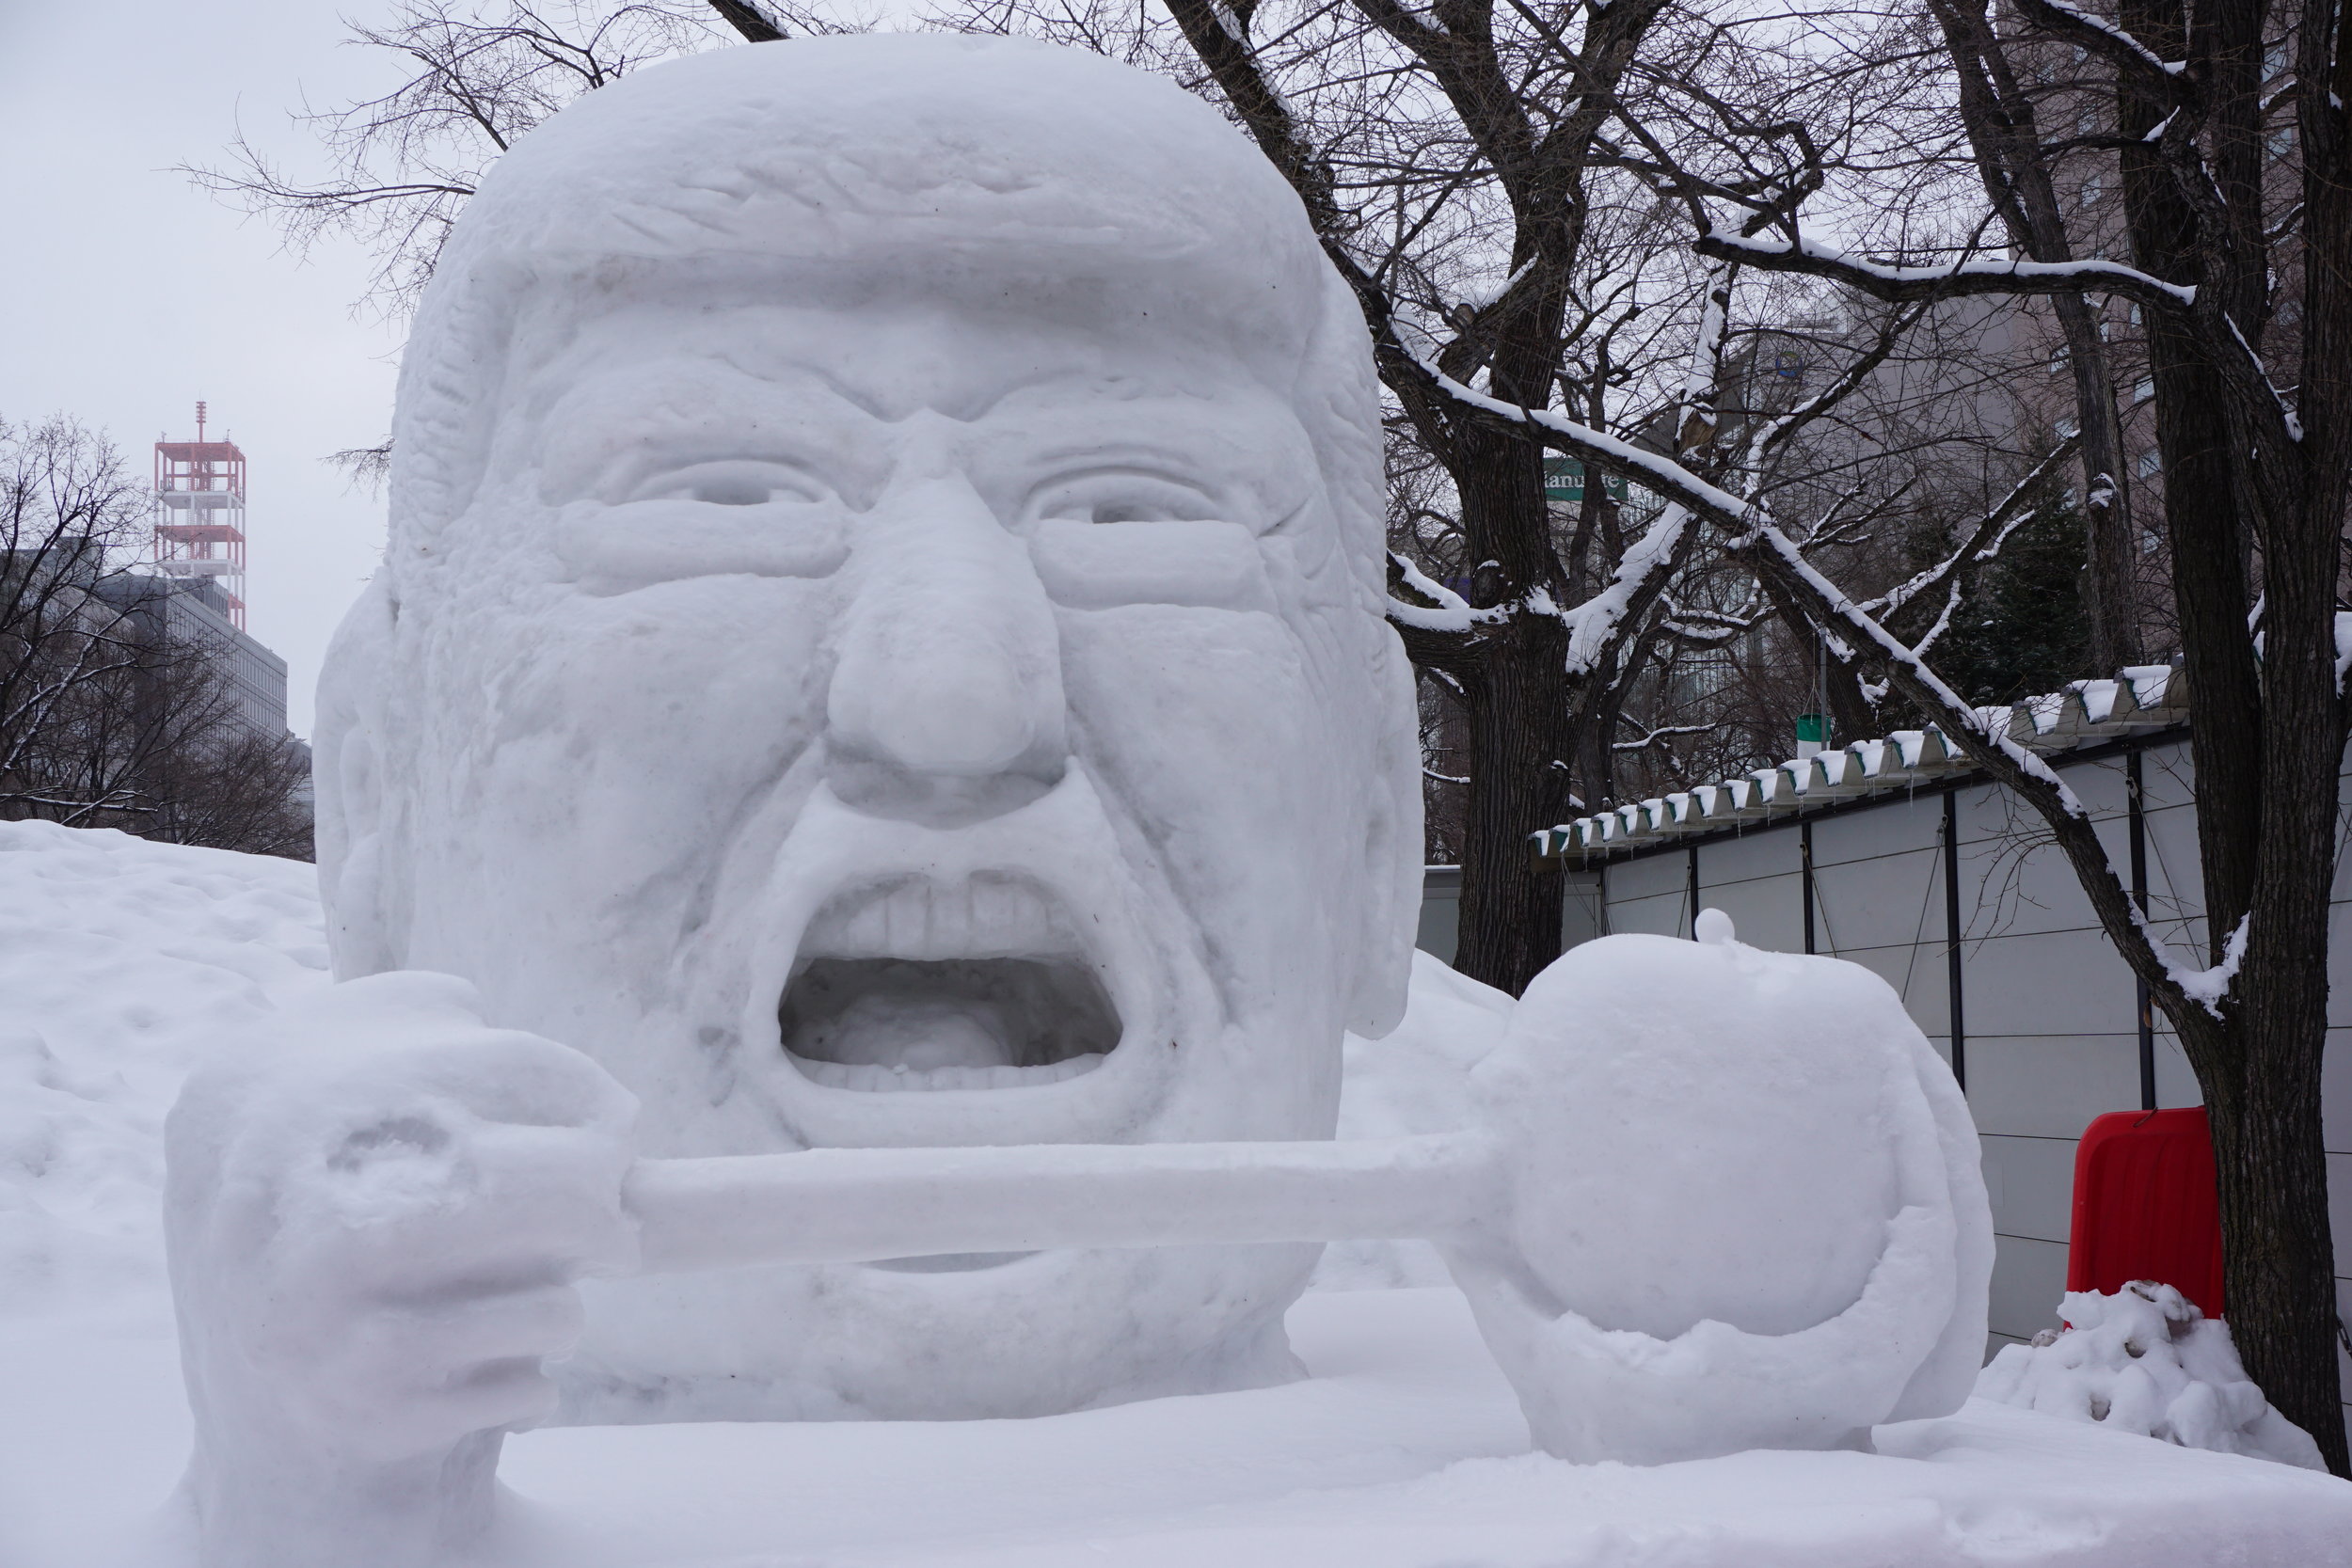
The main draw to Sapporo had been the annual snow festival which takes over Odori Park for two weeks in February. During the day you can tour the ice sculptures and watch performances. You’ll also find school children running around chatting with visitors and practicing their conversation skills. They’ll even teach you a thing or two about Hokkaido’s best products. Absolute delights!
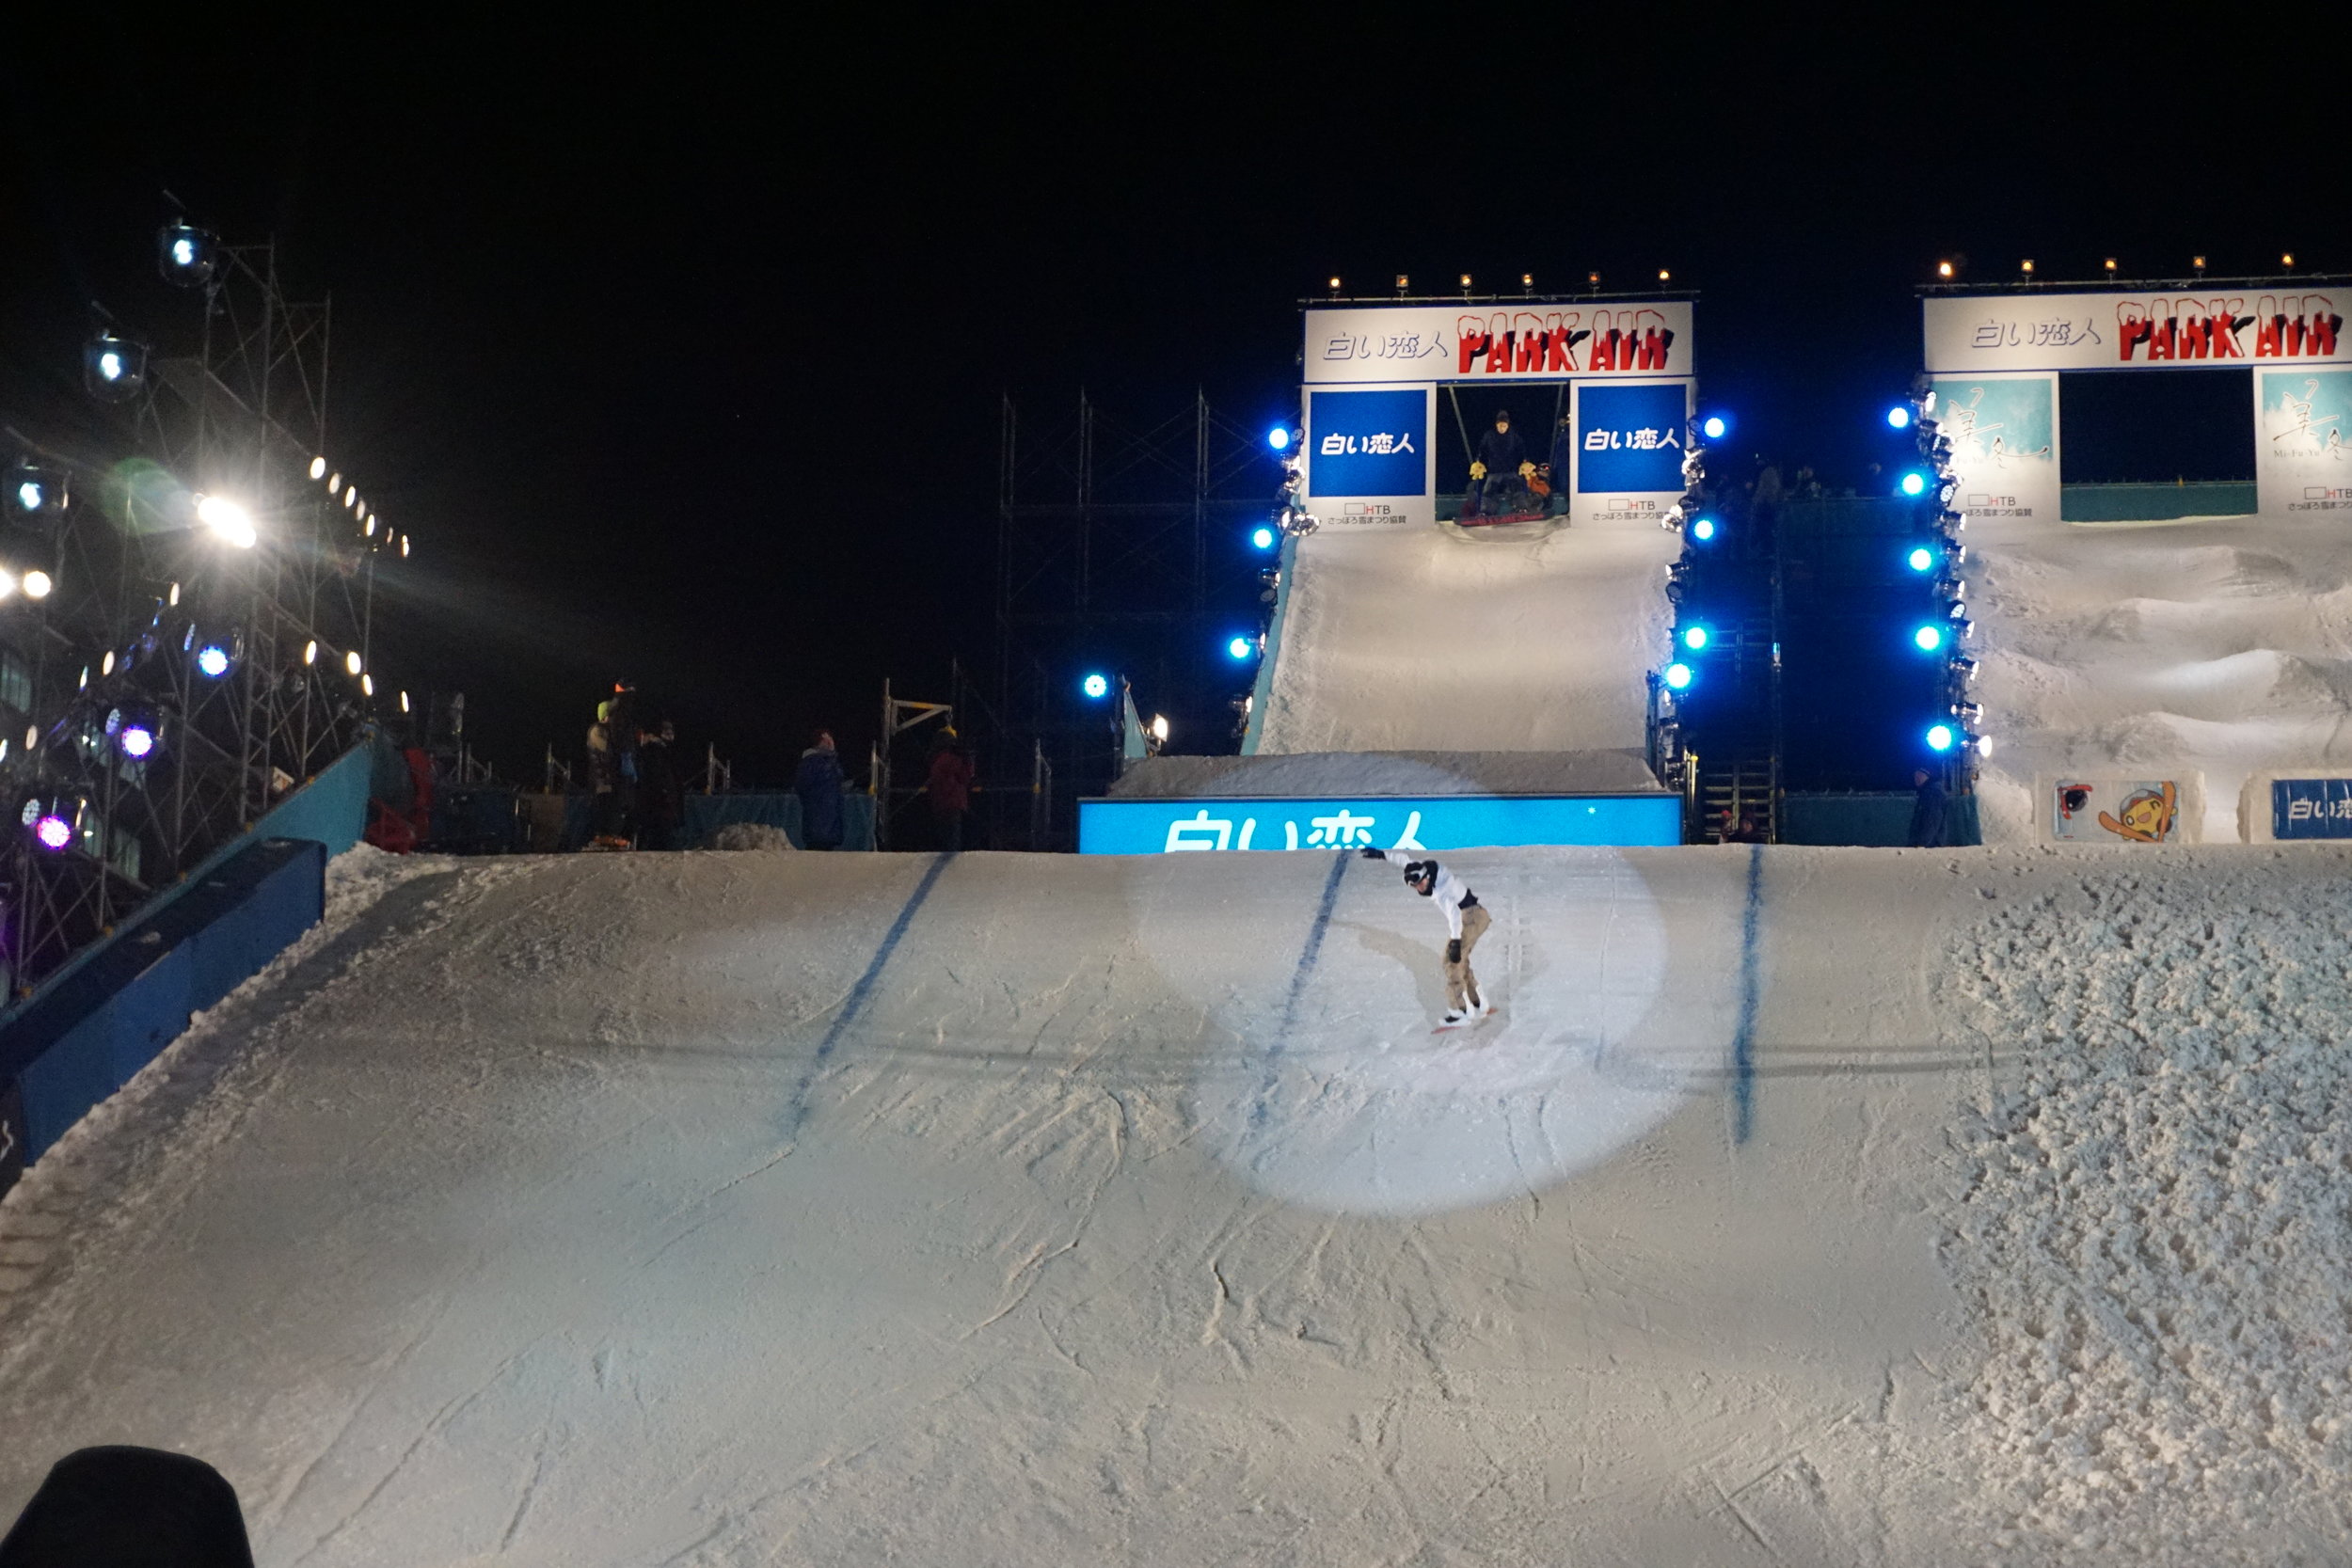
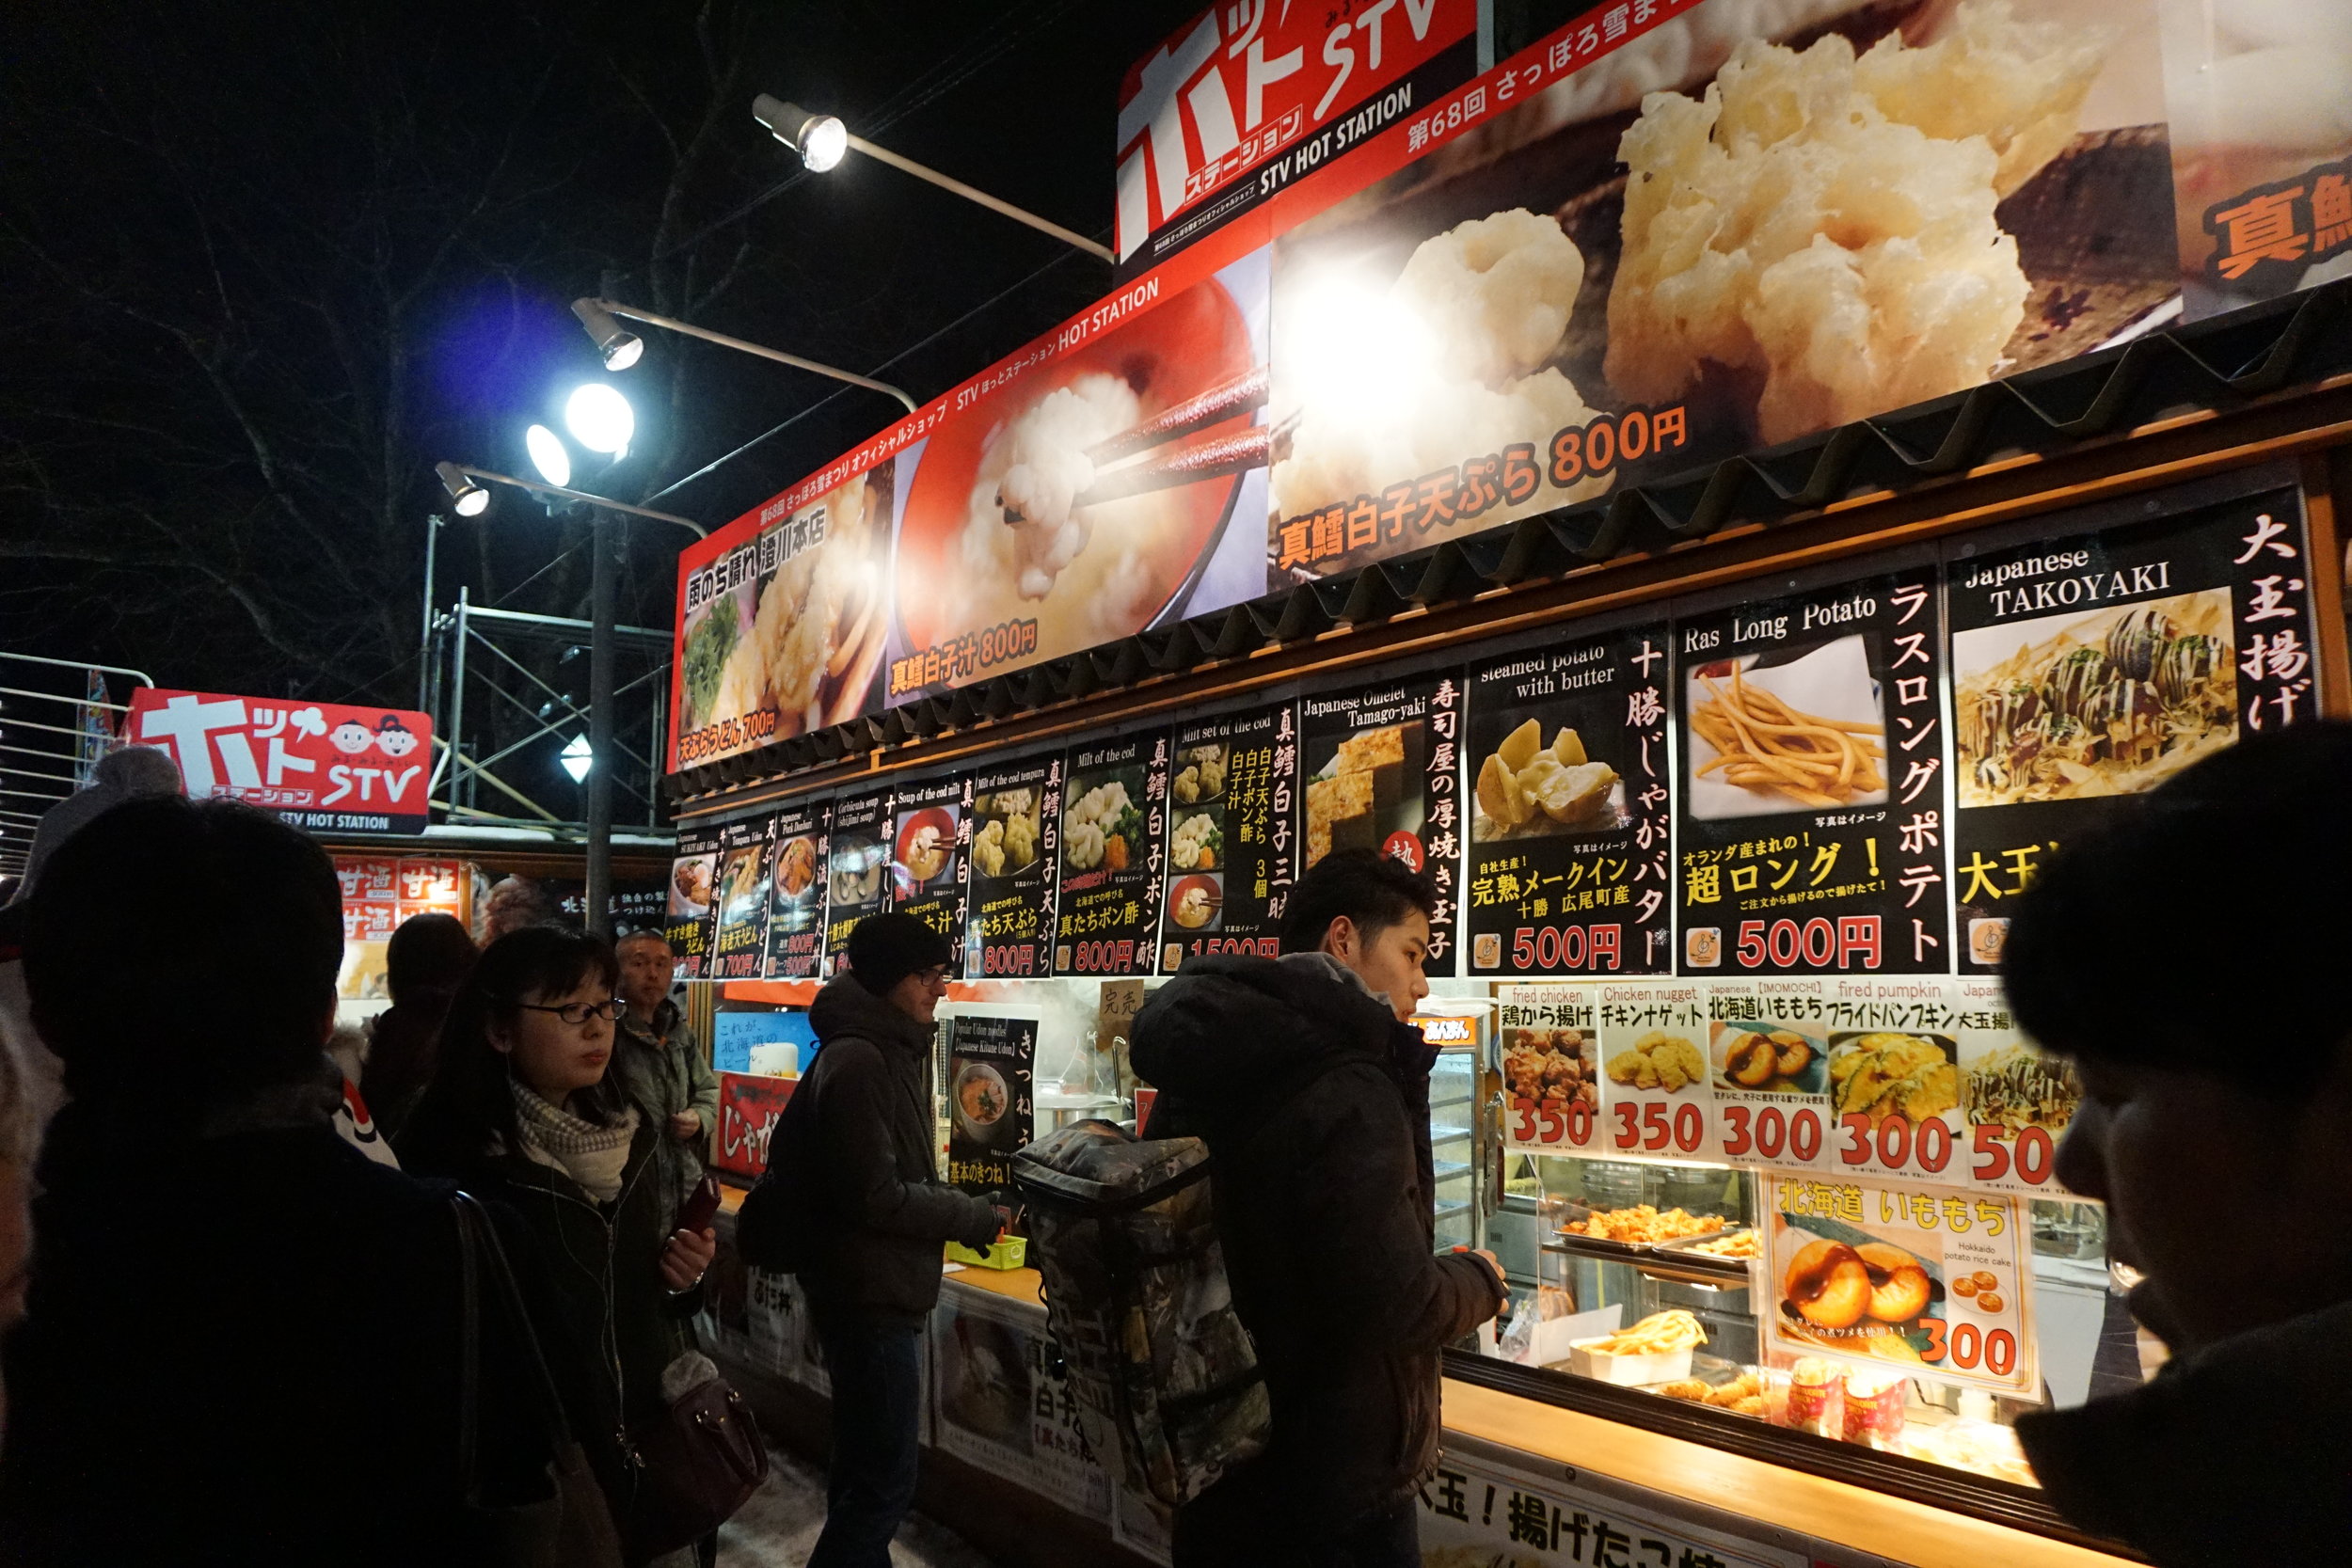
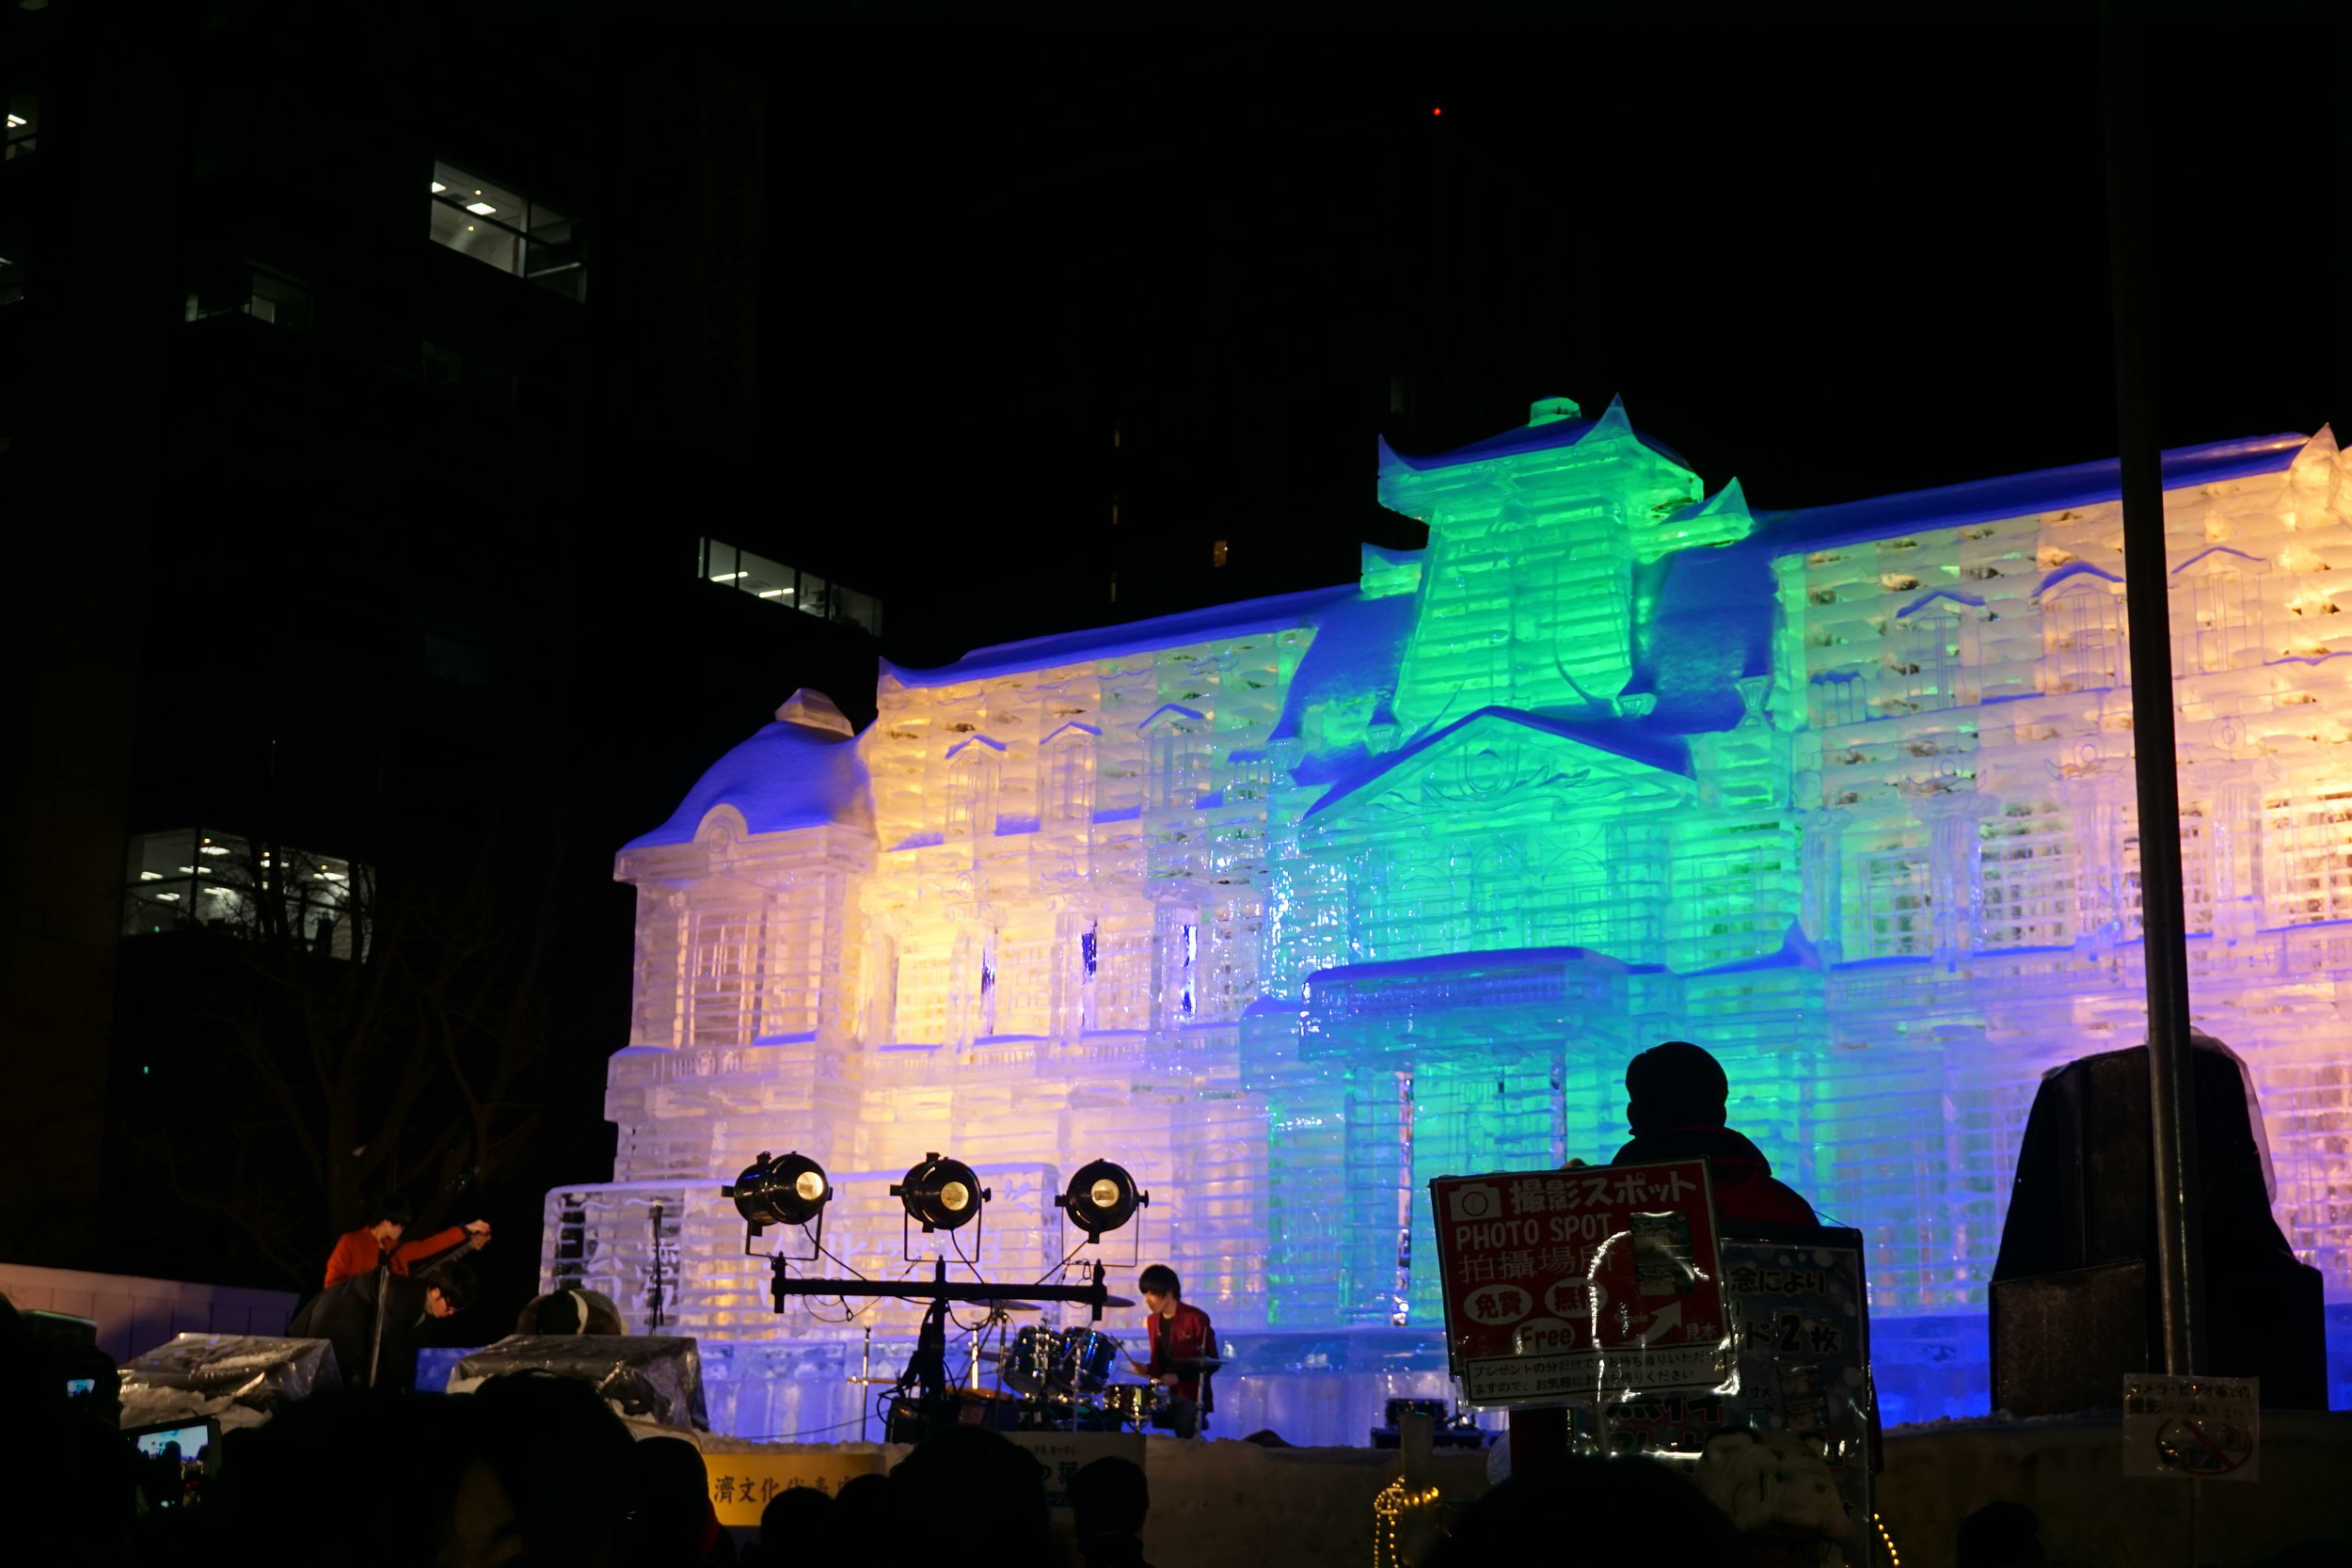
At night the festival is all lights and sound. The ice sculptures turn into backdrops for projections, stages open for concerts, the beer and fish are abundant and the ski jump is active. It’s almost a completely different event from the daytime and I would recommend experiencing the festival at both times.
Outside of the ice festival some of my other stops in Sapporo were:
- For a history lesson: Sapporo Beer Museum
- For the best soup curry: Curry Samurai
- For a good coffee: Mingus Coffee
Scenic train from Sapporo to Otaru.
Yoichi
Next stop was Yoichi to visit the Nikka Whiskey Distillery. We took the scenic train from Sapporo to Otaru and then a bus to Yoichi (about one hour in total). From the train station it’s a five minute walk to the distillery. The distillery offers tours in Japanese that will introduce you to the facility and the whiskey making process, ending with a complimentary whiskey tasting! The facility has English translations under the plaques around the distillery, so if you don't speak Japanese, you can tour the facility independently. Whiskey is not brewed during the winter because of the cold temperatures, but will restart again in the Spring. Even still, the distillery was a gorgeous site, covered in a blanket of fresh white snow. Beyond the distillery there isn't much to do in Yoichi, so after I finished the tour I took the bus back to Otaru. If you are interestedIf in learning more about the founder of Nikka and his Scottish wife, watch Massan, a made for TV series about the pair!
Otaru
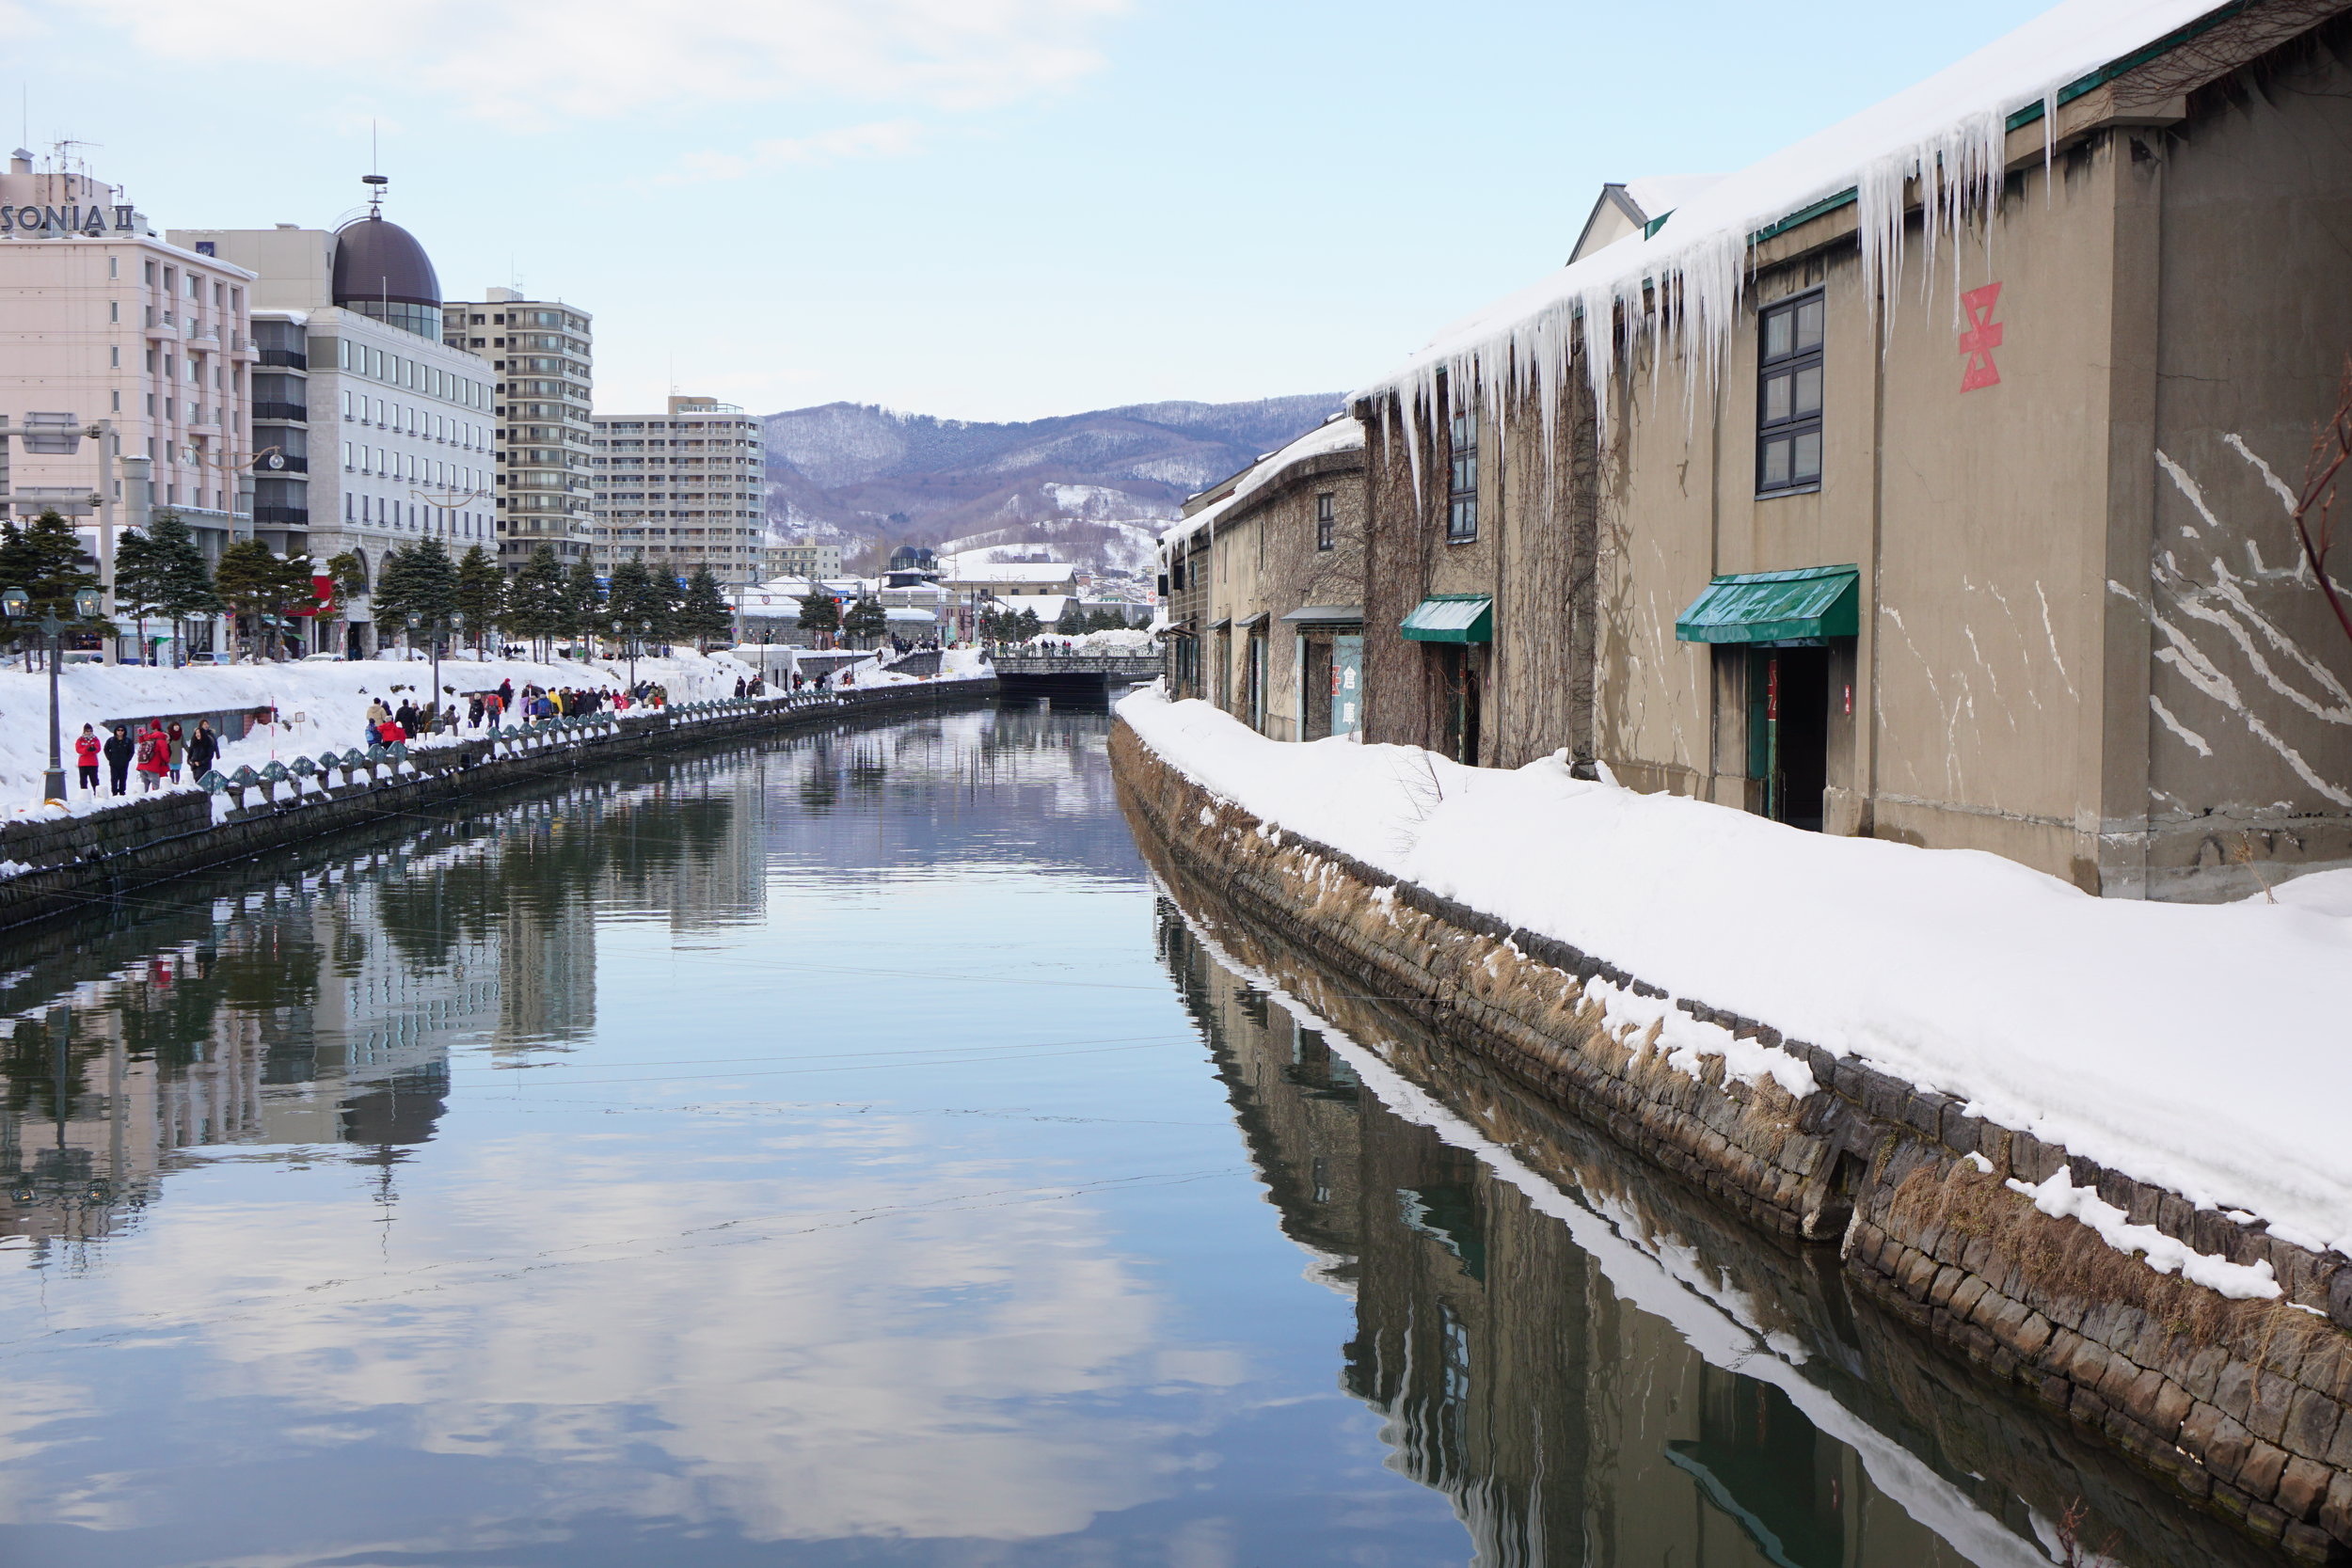
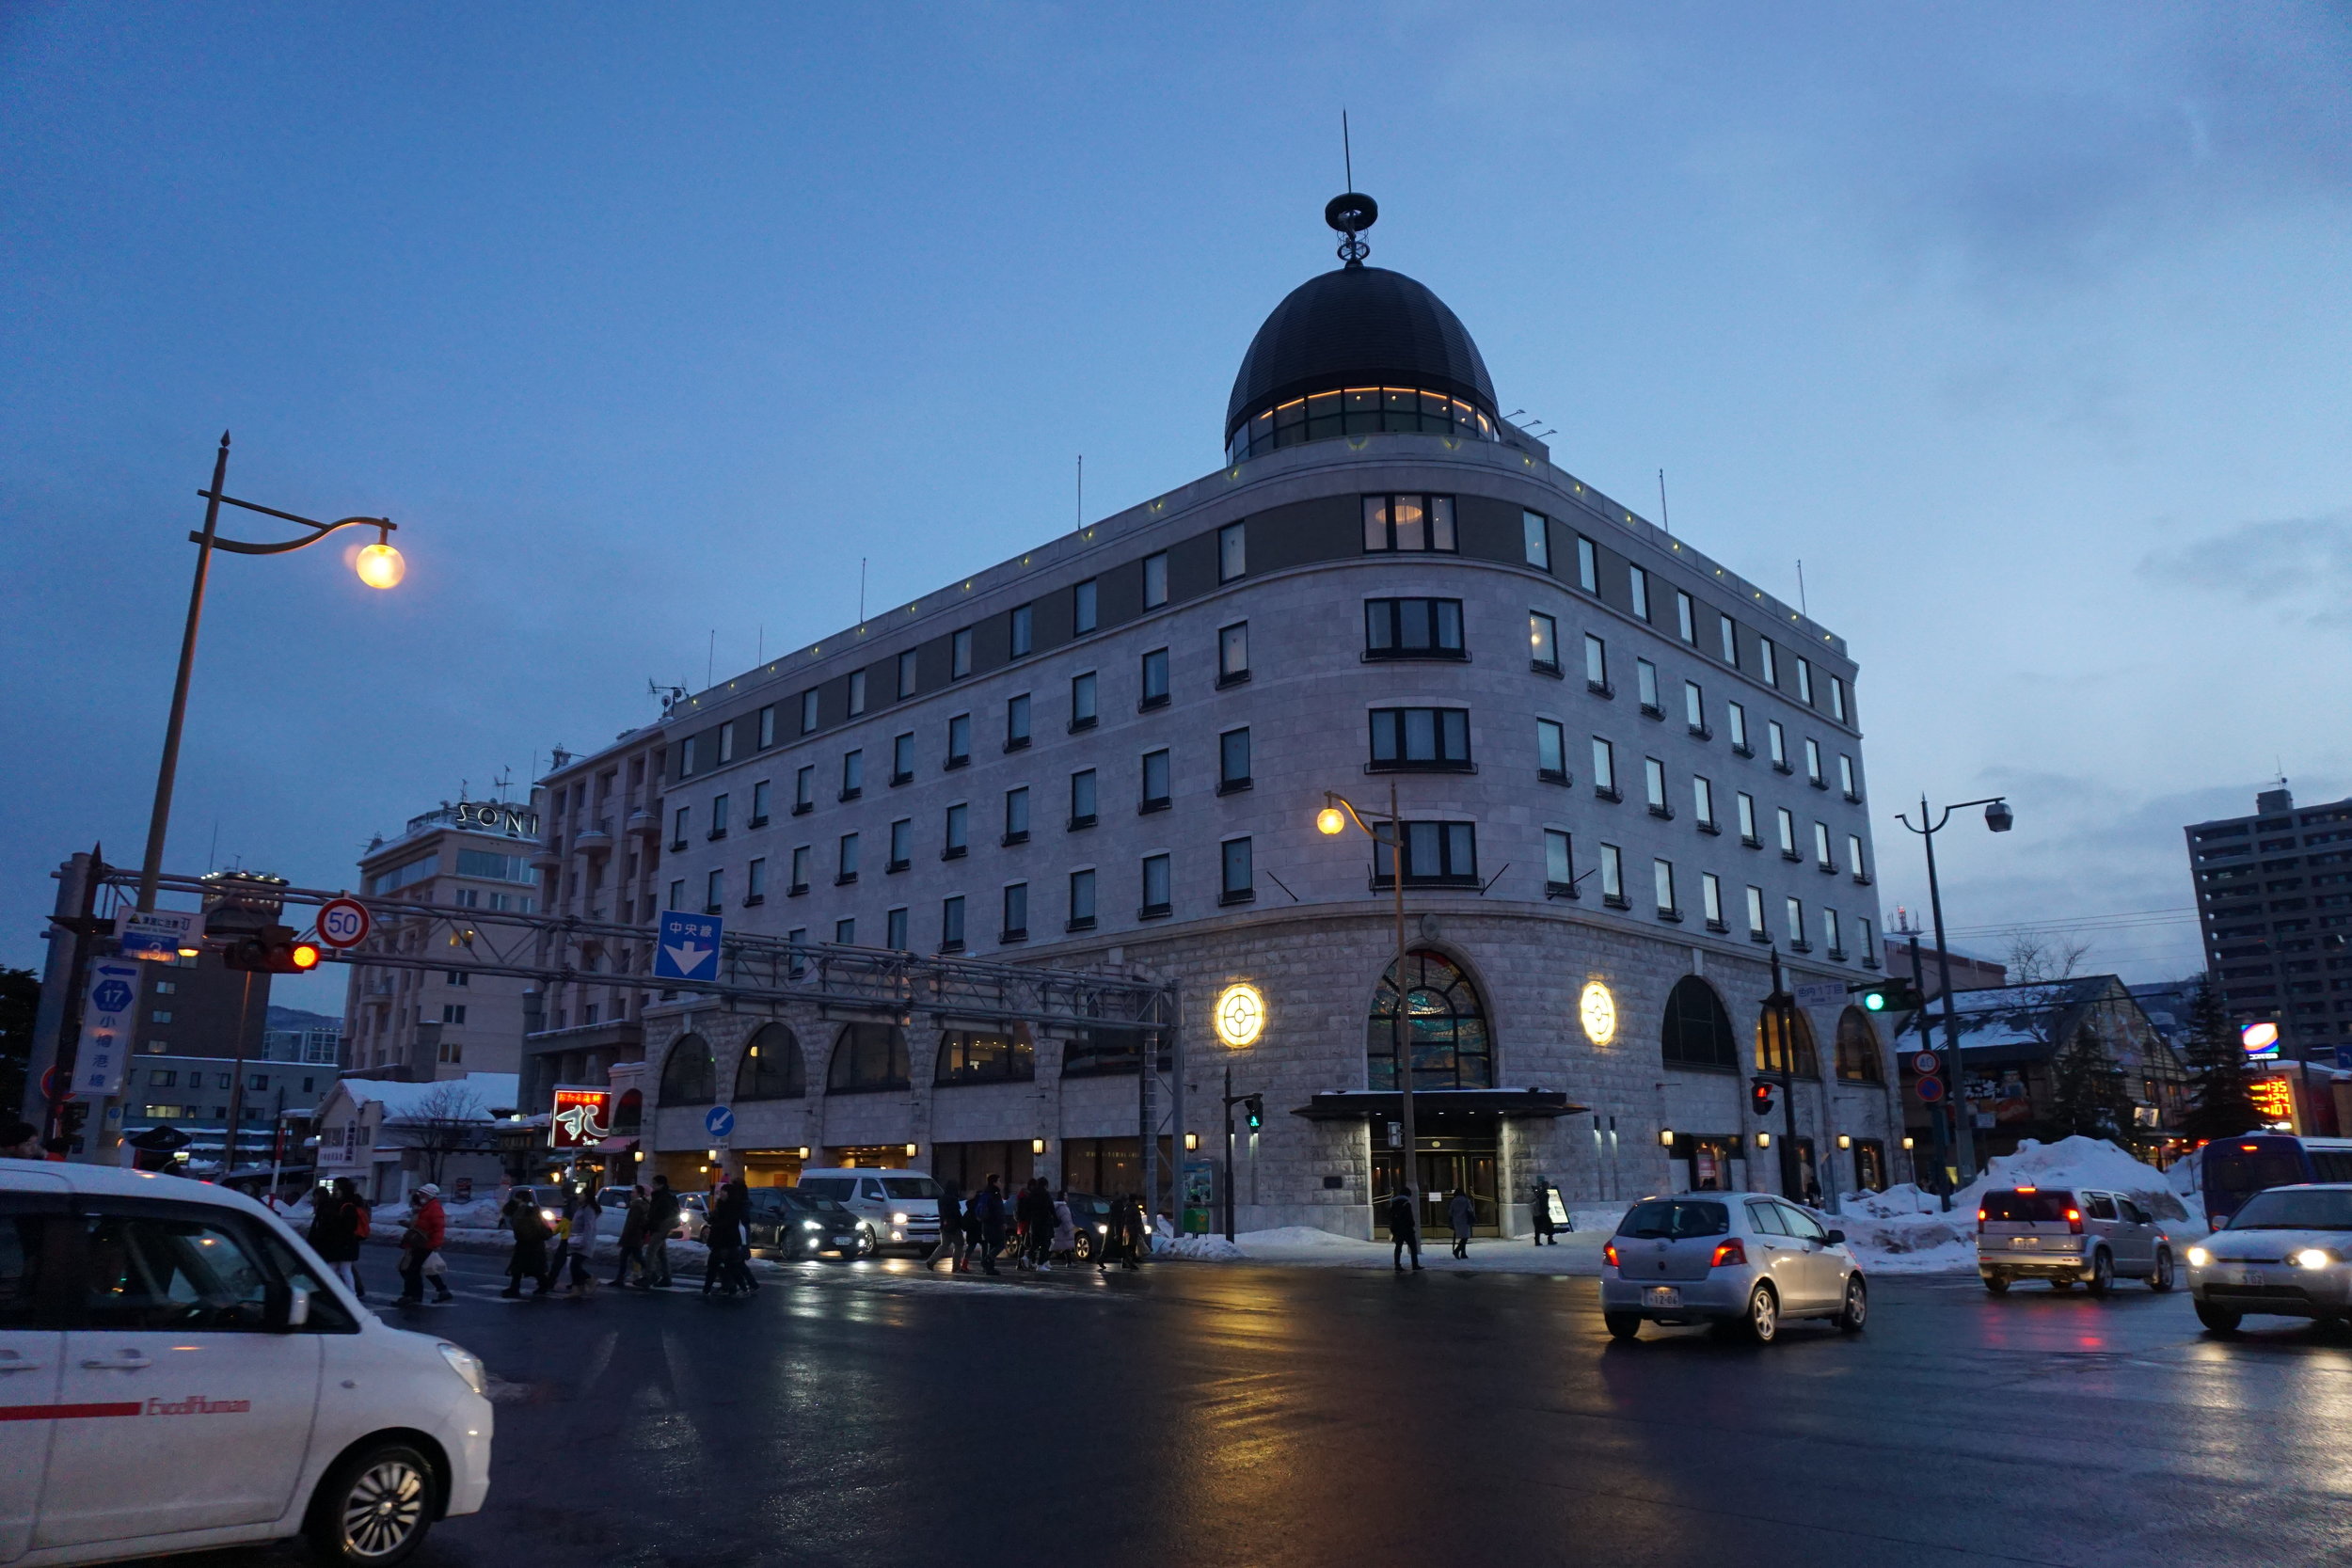
Otaru is absolutely charming and a haven for seafood lovers. Coinciding with the Sapporo Snow Festival, Otaru holds its annual lantern festival where it places tea lights in snow sculptures along the canal and walking paths in the city. After touring around the canals and lantern lit walkways we made my way to Sushi Kodai for a three and a half hour sushi feast. Normally a standing sushi bar wouldn't entertain customers for so long, but the chef at Sushi Kodai makes it feel more like a family reunion and encourages interaction between the 11 or so diners at the bar. The tight quarters create a warm and friendly environment and I’ve never had so much conversation across sashimi before.
Otaru is full of sushi restaurants, so if you cannot get into Kodai, you can try Isezushi or Masazushi.
The last train returns to Sapporo from Otaru at 11:10 PM. You just have to make sure you've finished your Nihonshu by then!
The entrance to Sushi Kodai down a lantern lit alley in Otaru.
Abashiri
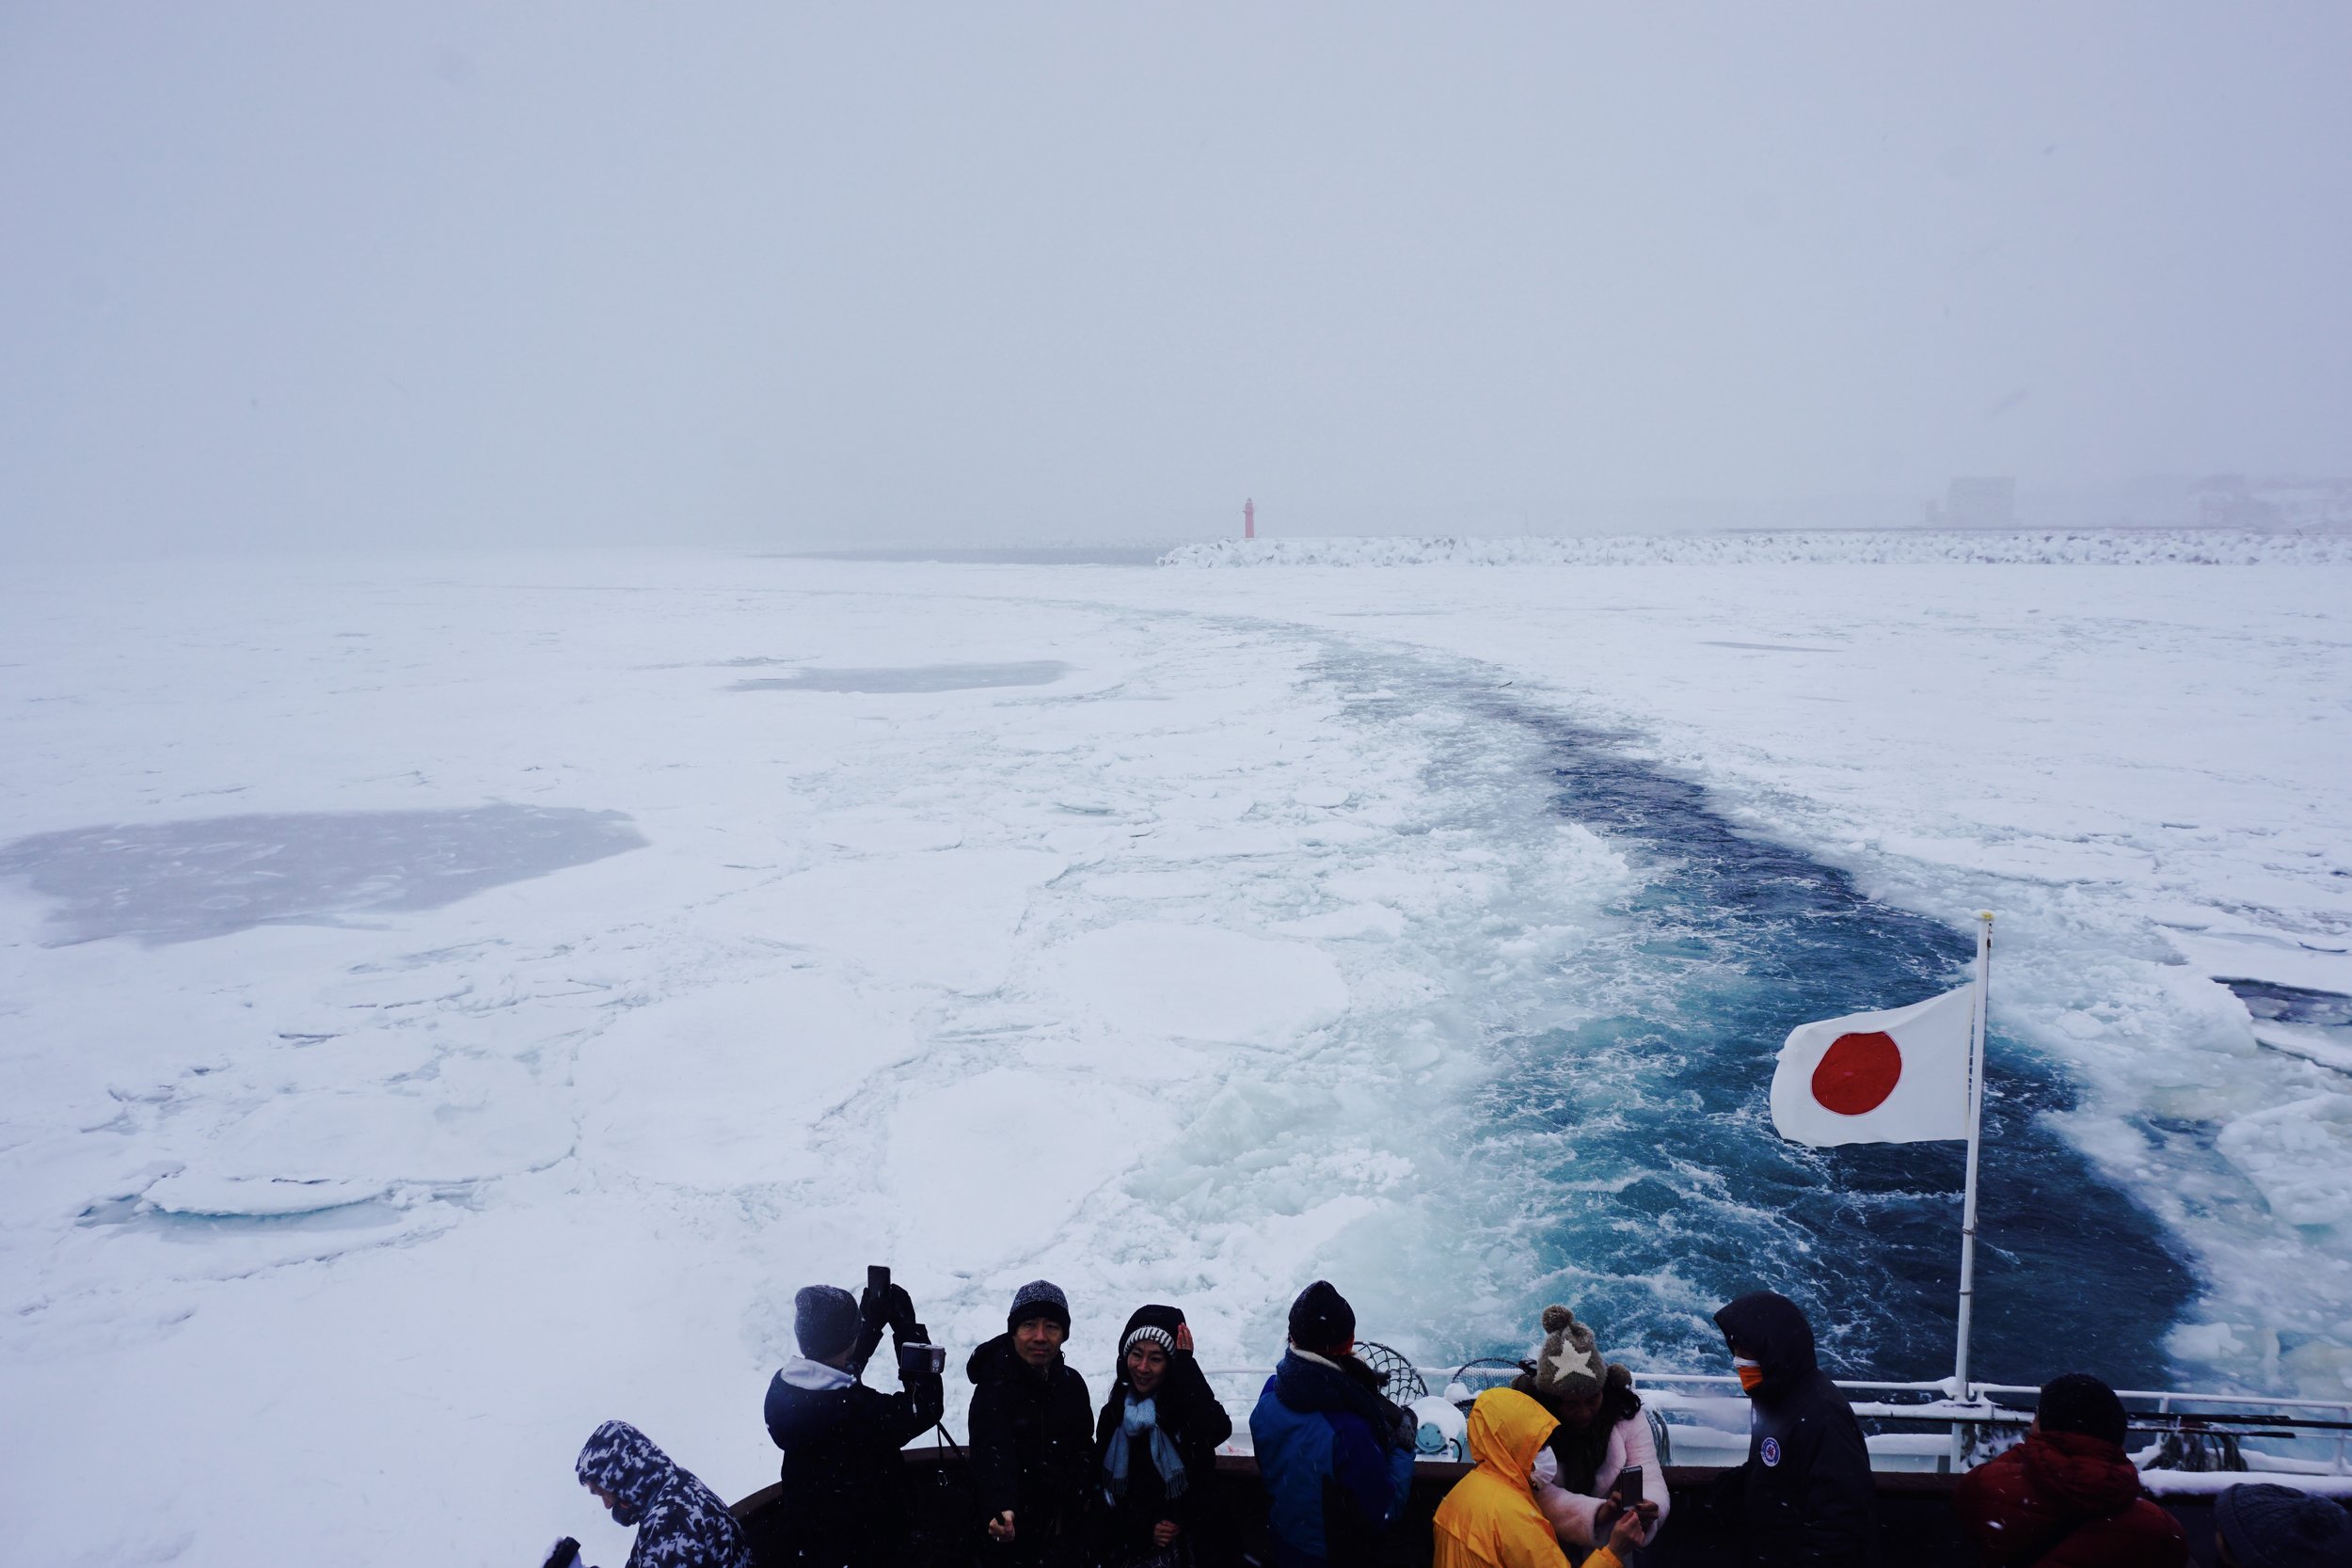
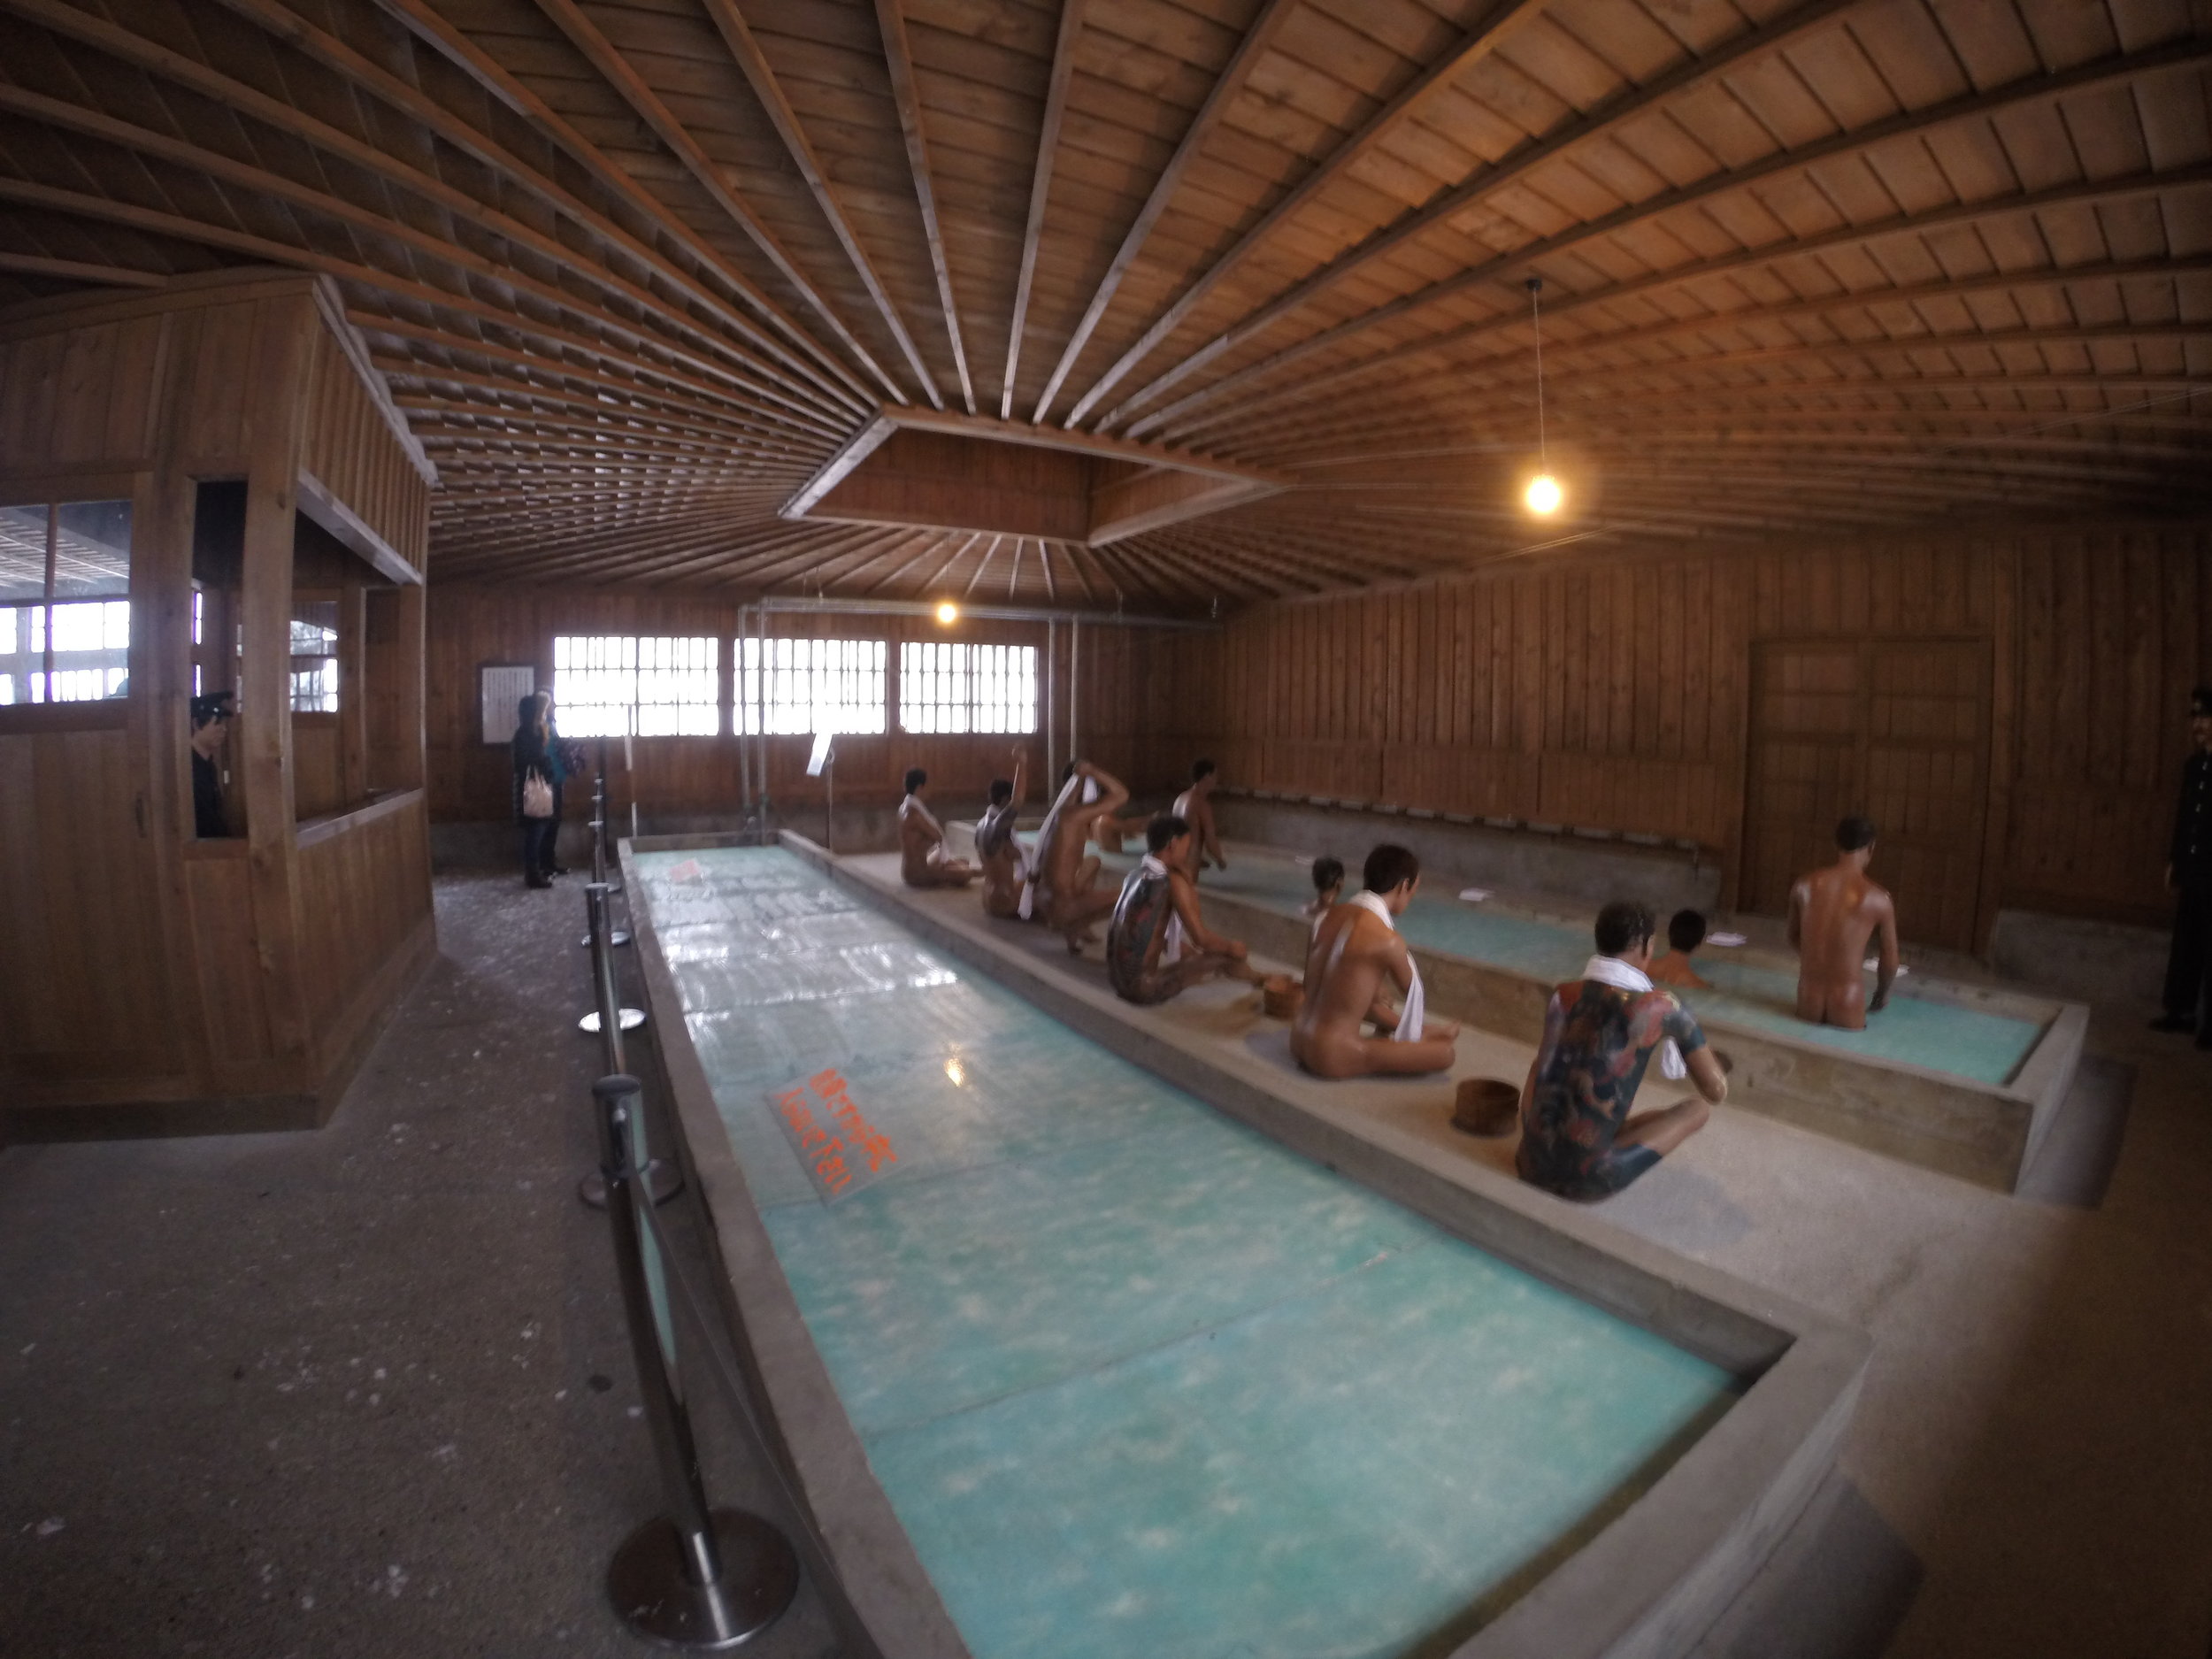
From Sapporo we headed way, far north to Abashiri on the Ohotsuk sea. Abashiri is home to many ancient ruins from the Ainu culture - one of Japan’s native cultures - as well as a creepy prison museum, so much delicious crab and blue beer. The real attraction that brought us this far north was the possibility of seeing ryuhyo - drift ice. The cold winds from Siberia make it possible for drift ice to form in Abashiri and all along the Ohotsuk sea off the northern coast.
There is a bit too much to see in just one day, so if you can spread out your travels to include at least a day and a half in Abashiri it would be better. There is the drift ice cruise on the Aurora, the Museum of the Northern Peoples, the Ryuhyo Museum and the Abashiri Prison Museum. You could easily spend a couple multiple hours wandering around the massive prison museum - and since it closes at sundown you need to get there with plenty of time before that. The bus system is well organized, and amazingly on time even with all the snow. They run two buses an hour between all the major tourist destinations. A day pass will cost you 800 Yen.
Utoro
From Abashiri it's about two hours to Utoro, a destination within Shiretoko National Park. Shiretoko is a nature lover's paradise, from the bus we saw wild foxes running along the ice and huge eagles nestled out in the waters. There are tour companies in Utoro that bring you out onto the drift ice for a walk and a swim, we worked with Gojiraiwa! It was mind blowing. The fact that technology has created a fabric that keeps us warm and dry and able to get into arctic waters without contracting hypothermia is incredible.
The Aurora Ice breaker ship in Abashiri and walking on the drift ice in Utoro deserve their own article, stay tuned for more details in the next blog post!
Reflections
What struck me most this trip, was the amount of external influence I saw in the buildings, industry and historical figures. In Hokkaido industries were both foreign and familiar all at once. There was dairy farming, beer brewing, a prison system and while it was an idea you would normally associate with Europe or America it had it's own Japanese twist. At times I would look around and wonder if may we had wandered our way to Amsterdam or Berlin by accident. Just because the surroundings were so reminiscent of those destinations with the brick building, roofs and canals. Hokkaido was largely populated during the Meiji Era when Japan was opening itself up to ideas from the Western world. It set up commissions with foreigners to help consult on the industrialization of the area and it shows. But not in a, "Japan lost it's culture" way, but more in a appreciation for their ability to accept new ideas, refine those ideas and incorporate them into their lifestyle.
It was hard to leave at the end of the week. But the saving grace was a last minute stop into New Chitose Airport's ONSEN! The onsen is open 22 hours a day, from 10am to 8am. And you can stay there overnight if you have an early morning departure.
There is so much to see in Hokkaido and we cannot wait to get back there. Planning a trip for this summer that will take us to the Sapporo International Art Festival, Biei, Wakkanai and Shiretoko!
Highlights Map
If you are planning an adventure up to Hokkaido here is a handy Google map with some of my favorite destinations from the trip!
Summiting Mt Fuji for Sunrise
There are more beautiful mountains in Japan to climb, that’s for sure. But Fuji is worth doing once in your life. There is nothing like the view from the summit - or soaking in an onsen overlooking the iconic mountain afterwards.
Hikers.Before, During and After.
Before.
7th Station.
Summit.
Descent.
My companions on this Fuji Hike were Angelica, Jesse and Yesenia. All first timers, all active in their own way - surf, cycle, yoga. They braved altitude sickness, sleeping very close to strangers and sore knees to summit. They all agreed that the payoff at the top was worth it, but that there were ways to make the experience better. Here is a bit about what we learned in prep for your own Fuji climb.
The Climb
Hand-drawn itinerary.
We left Tokyo at 7:45am from the Shinjuku Highway Bus Terminal. Were at the 5th Station by 10am and on the trail by 11am. We worked our way up at a fairly quick pace, stopping at stations along the way for water, treats (Snickers!) and photo opportunities.
We arrived at our accommodation, Goraikoukan, for the evening by 3:30pm. After lounging around on the tatamis and stretching, we ate dinner (5:30pm) and climbed into our bunks. The cabins are crowded, everyone said you are sleeping like sardines, and they weren’t kidding. You are lying arm to arm - 8 people to one bunk section. It was a little overwhelming. And the cabin cleanliness was questionable. I highly recommend bringing your own sheet, or maybe a micro sleeping bag to put a little distance between you and their linens. Lights out in the cabin was 9pm and it was mostly quiet till around 2am when everyone started getting up in prep for sunrise.
Tip: Bring a clean sheet, eye mask and earplugs. Will contribute greatly to getting good rest.
Bunks are efficient with space. You share blankets with individuals next to you, and hang your hiking gear on hooks above the bed.
The Summit
Our party woke up at 3am, drank hot tea, ate toast with jam and then headed on our way up for the final ascent.
Headlamps and hikers.
You can see all the headlamps working their way up the mountain side. It was relatively less crowded than on a weekend, but we still waited in line to get to the summit. The climbing season for Fuji is short, the Yoshida trail is only open from July 1 - Sept 10th. Weekdays are less crowded than weekends. If you can manage to go on a weekday,
Tip: Time your climb for after school is back in session to avoid the bulk of the crowds.
3776m above sea level. 5:20am. Sunrise over Yamanashi Prefecture. Perfection.
Being above the clouds and watching the sun peek out over the horizon is unforgettable. It was very cold and windy at the top of the mountain, so it was good to have gloves, hat, scarf and extra jacket.
Tip: Bring a thermos and fill it with hot tea or coffee, you’ll appreciate a nice warm drink while you stand still, and wait for the sun.
The Descent
Most previous hikers emphasized that going down Fuji was much harder than going up. It's true. The descent, on switchbacks, with loose gravel is harrowing for the knees. Having hiking boots with good grip and hiking poles to stabilize you as you work your way down was crucial. We made our way down the mountain in 2.5 hrs.
Tip: Wear a face mask on the descent to keep all the dust out of your mouth and nose!
2.5hrs down. Switchbacks and loose soil.
Post Climb Onsen
Almost exactly 24hrs after leaving Tokyo we were back in the Fuji 5th Station Parking lot. We had a cup of coffee at one of the Station cafes and then took a bus to Kawaguchiko Station (about 30mins). At Kawaguchiko Station we caught a local bus to Yurari Onsen (15 mins). For 1300 JPY you get access to amazing baths and on clear days, a beautiful view of Fuji. A post hike bath was exactly what we needed to refresh ourselves and feel comfortable getting on the train/bus back to Tokyo.
Tip: Pack sandals and a clean pair of clothes for after the baths.
Clean. Happy. Content. Hikers, post bath.
Packing List
Hiking boots
Hiking poles (so helpful on the walk down)
Warm wool socks
Tshirt
Thermals (top and bottom)
Insulated layer
Water proof layer
Hat
Sunglasses
Beanie, Gloves, Scarf (summit is CHILLY!)
Sunscreen
Change of clothes for after onsen
Sandals
Head lamp
Water bottle
Sheet or sleeping bag (for hut - cleanliness is questionable)
Eye mask
Ear plugs
Face masks/bandana to cover nose and mask (keep the dust/soot - out of your nose/mouth)
Logistics
Approximate budget - 22,000 JPY
Accommodations - 8500 JPY
Transportation - 7000 JPY
Hiking Poles - 2800 JPY
Incidentals - 2400 JPY
Onsen - 1300 JPY
Is the Japan Rail Pass Worth it?
I always recommend for travelers coming to Japan to get the Japan Rail Pass (JR Pass). But recently I’ve been getting questions if it is actually worth the cost - around $300 USD for a 7-day and $460 for a 14-day (ordinary, not green).
While I had a feeling it was more economical to use the pass, I wanted to double check. I picked four itineraries that I’ve made for previous clients and compared the prices for reserved-seat tickets, non-reserved tickets and JR pass holders*.
Bottom line: For anyone traveling by Shinkansen to a handful of destinations around Japan (2+), the JR Pass is DEFINITELY worth the cost.
Let’s take a look at a few different itineraries below:
Laura and Mike - Tokyo + Kyoto + Naoshima + Hiroshima + Yakushima
Laura and Mike are really avid hikers. They’ve been around the world on trails and spend most weekends, back at home in California, in the forest. For them, doing the Kumano Kodo and visiting Yakushima were huge priorities. They saved over $400 USD by getting the JR Pass.
Kathy - Hiroshima + Naoshima + Kyoto + Hakone + Tokyo
Kathy was starting in Hiroshima and working her way to Tokyo over the course of 7 days. Even though Kathy wasn’t buying a round trip ticket from Tokyo to Hiroshima the JR Pass was still worth it. By using the JR Pass Kathy was able to save around $70 USD.
Erin and Brendan - Tokyo + Kyoto + Nara + Hiroshima
Erin and Brendan had basically planned out their trip by the time we got in touch. They were really interested in history and wanted to visit Kyoto and Hiroshima along with a little bit of time in Tokyo. For them getting the Pass saved them about $170 USD.
Kendra - Tokyo + Kanazawa + Yokohama
Kendra was coming to Tokyo for work and just looking to escape the city and see a different side of Japan. For her I recommended a long weekend in Kanazawa and a quick ½ day trip to Yokohama. With the pass she saved $58 USD. Even if Kendra chose not to go down to Yokohama, I can still imagine that the Pass would be worth it to cover the cost of her trips on the JR trains within Tokyo.
When the Pass isn't Worth it
The scenarios above all justify the cost of the JR Pass. But, I can think of situations where I wouldn’t recommend someone purchase it. For example:
- Just visiting one destination during your trip (Kyoto for example)
- Taking overnight buses/trains instead of Shinkansen
- Traveling to a place like Okinawa or Hokkaido with the discounted airfare for foreign passport holders. Here is a list of carriers/discounts
- Visiting places like Hakone from Tokyo - where there are other pass options (2-Day Odakyu Pass)
The scenarios are endless. If you are on the fence about whether or not to get the pass, take a quick look at the links below and example itineraries above and you'll be able to get a rough estimate if it is worth it or not.
Resources for Train Schedules, Prices, etc.
Google Maps - it's coverage of Japan is very extensive and you can explore the schedule to find trains leaving/arriving at certain times
JR Fare Calculator - Doesn't cover all stations, but gives you a good idea for major stations
Shinkansen Fare Calculator from TokyoCheapo - all fares originate in Tokyo
Tokyo Metro Fare Calculator - The Metro lines are not covered by the JR pass, so this can give you a better idea of what you may spend
*To make the price comparison I used prices from JR Websites, Google Maps and TokyoCheapo. Because the JR Pass does not cover travel on Nozomi trains, I only used Hikari and Kodoma trains for price comparison. Fares can change by day and time, so the stated prices above may be different then what you pay.
Factoring Festivals into your Japan Itinerary
Festivals are a huge part of Japanese culture. They happen from north to south pretty much all year round, with a large concentration in the summer. Almost every other night and definitely every weekend throughout August, you can go see fireworks.
This week (August 16th) was the Daimonji* Festival in Kyoto. Daimonji* is the last day in a week long festival of Obon. During Obon the Japanese celebrate the return of their ancestors' souls to the living world. Daimonji* is the day that they see the souls off, back to the afterlife. Lighting the fires on the mountainside - or lanterns in the river - represents the lights that will guide the souls home.
It was my first time and felt like a combination of Thanksgiving, Halloween and Fourth of July. The festival is important to family and friends and involves everyone gathering together. Our party started at 2pm and ended around 11pm. We drank 15 liters of beer, one large bottle of sake and ate for 9 hours straight - with the last course being delicious, HOT rice. Beyond the eating and drinking, there were moments of silence for those we’d lost and lots of fire and smoke. It was amazing, even in the pouring rain. I can highly recommend experiencing a festival for yourself during your time in Japan.
Toasting to health in the year to come.
Watching the fires lite on the mountainside, in the rain.
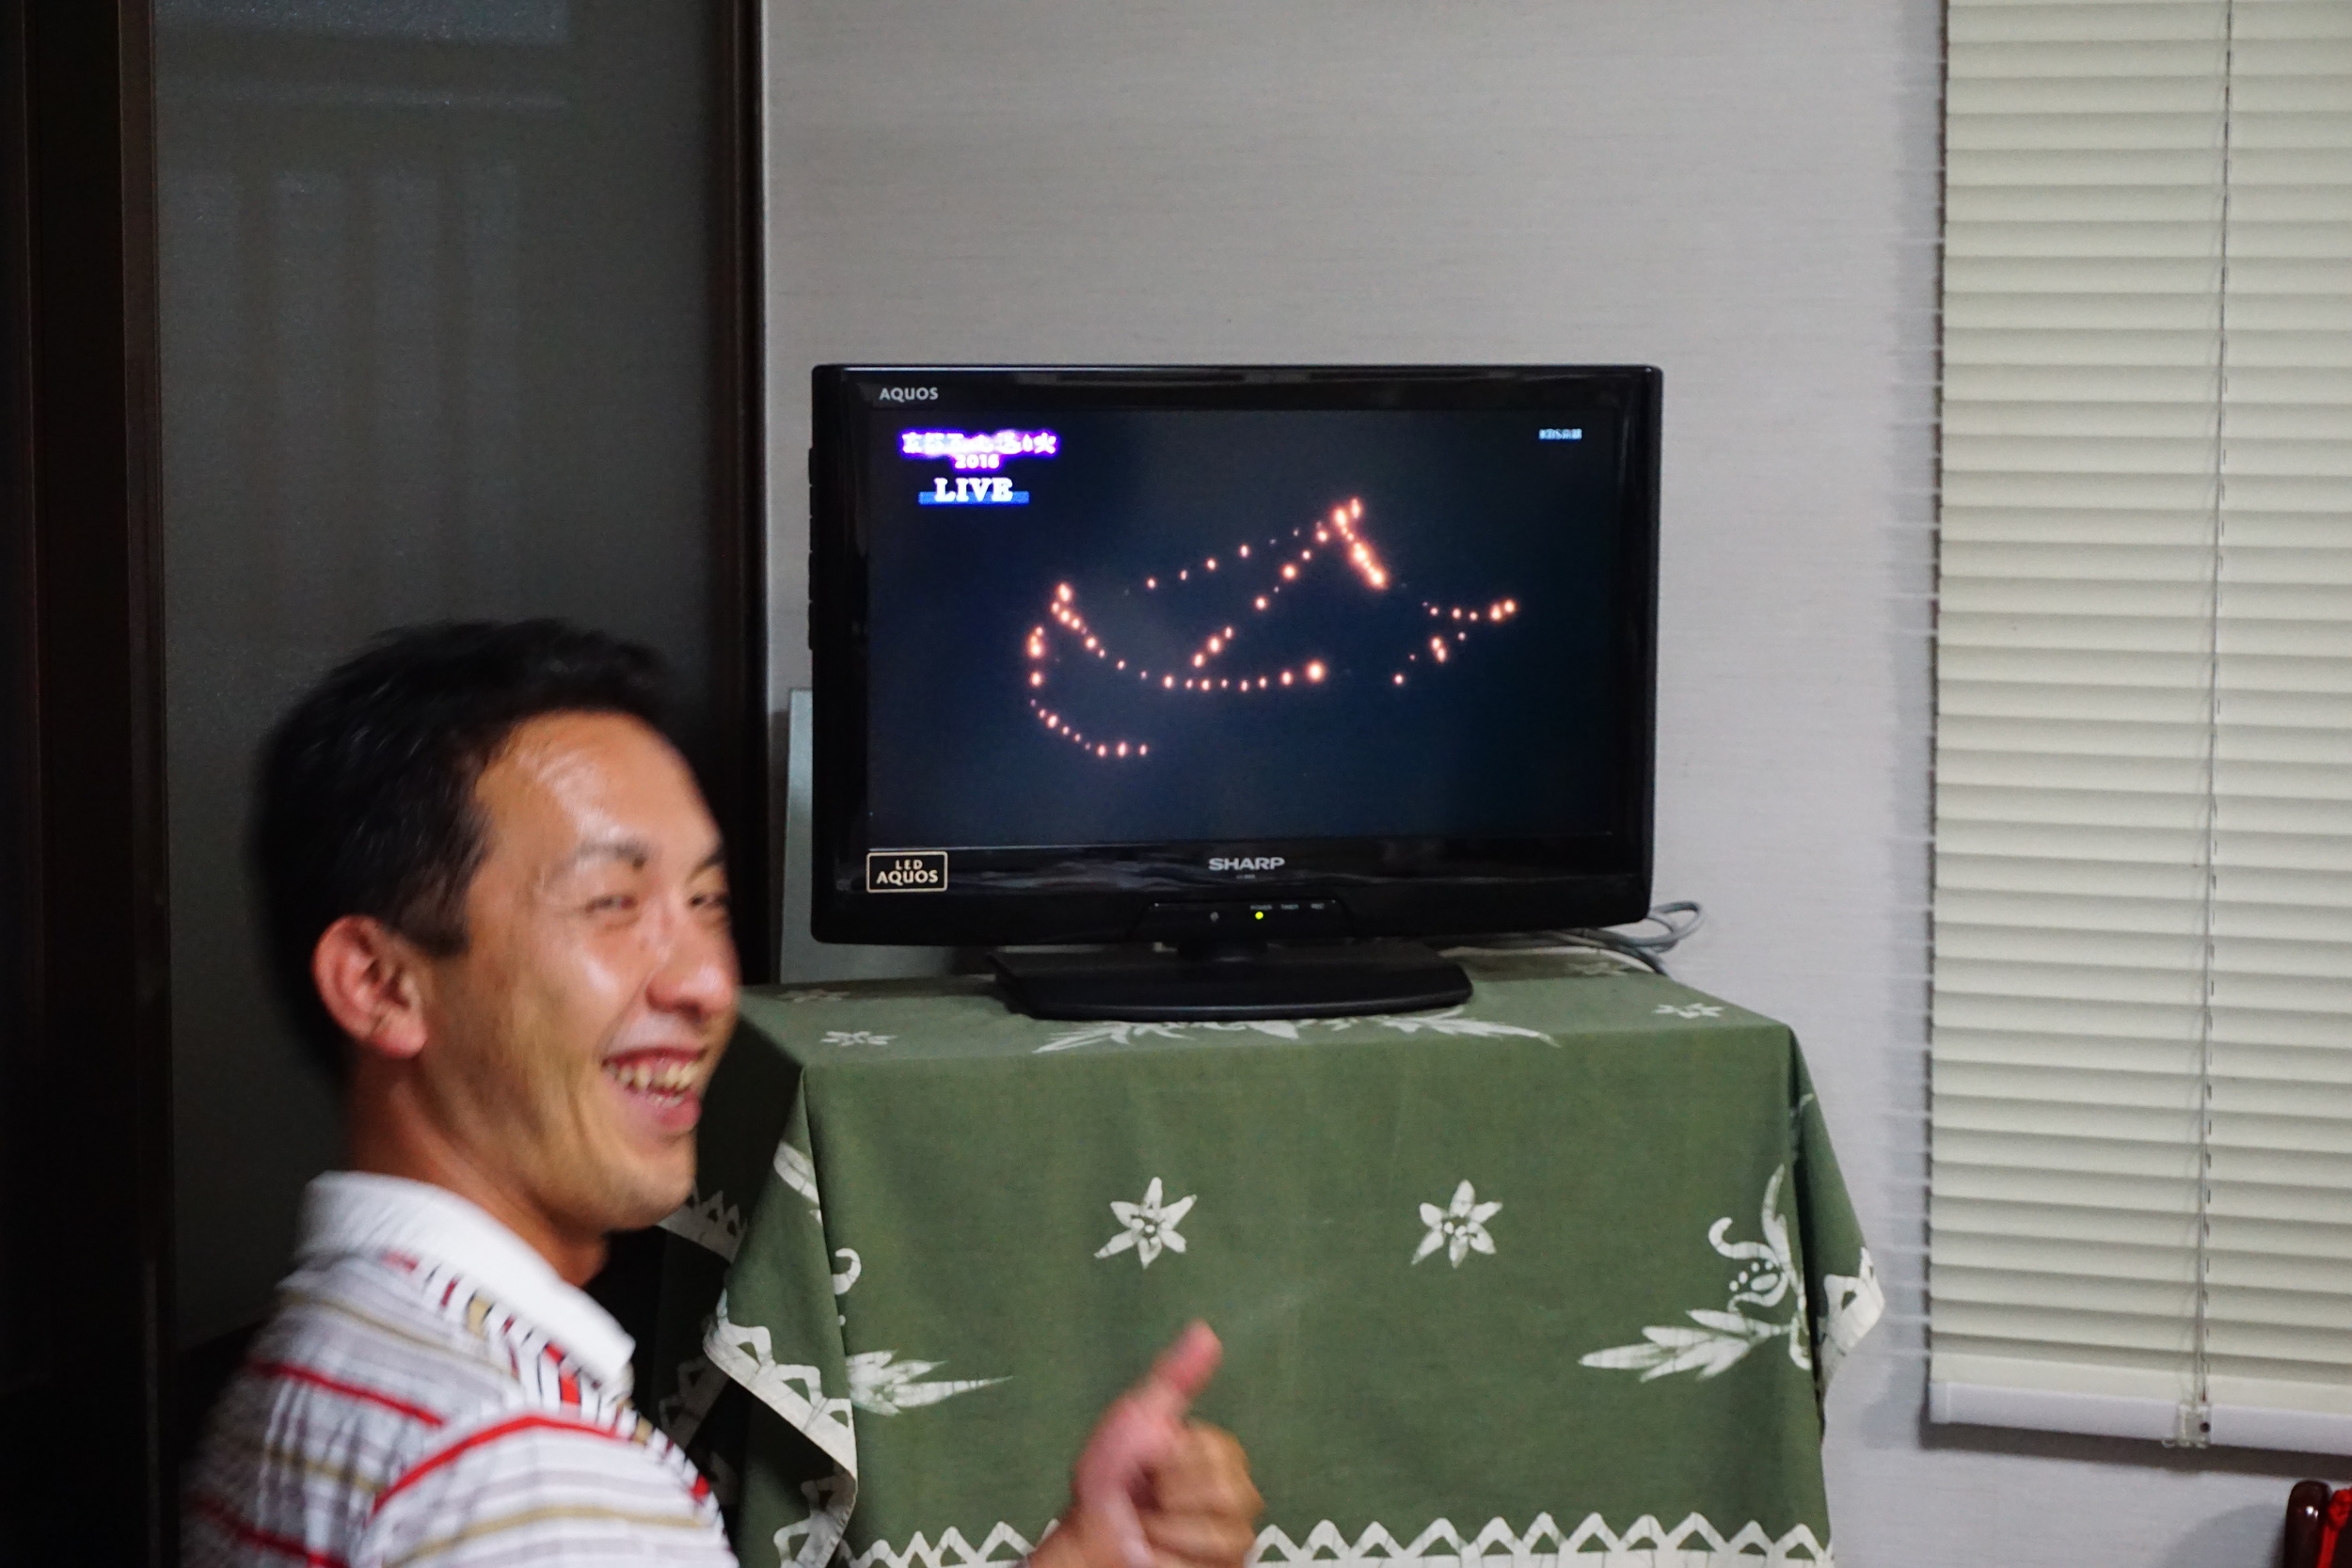
Moving indoors to see the fires televised on TV. You can see the shape of a ship burning on the mountainside.
Working a festival into your itinerary is easy. Here are a few tips to make sure you get the most out of the experience.
1. Plan Ahead
Festivals are so major events for the locals and you can expect an increased amount of visitors - be sure to book your accommodations in advance - and if you are traveling there by train, get your tickets a few days before you go. Try a site like Airbnb and stay with a local to get their perspective on what the festival means to them
2. Wear Yukata
Festivals are the perfect occasion to get dressed up in yukata, a casual form of kimono for summer.
If you think you may wear yukata more than once it's almost worth it to just get one from a vintage store - like Kimono Daiyasu in Kyoto. But there are also rental shops where you can get a yukata for just one day. Regardless of which route you choose, work with someone experienced to dress you. Yukatas may look simple, but they are not easy to put on - tying the obi (the belt that keeps the robe on) is especially troublesome. The nice folks at most stores will make sure you are properly suited up.
3. Make it Meaningful
To avoid the feeling of pure spectator sport, try and find a festival that is personally relevant to you. Having just lost a close friend Daimonji was very meaningful for me. Here is a list of festivals around Japan and a few I found particularly interesting: the naked festival in Okayama, the dancing festival in Tokushima and the snow lantern festival in Akita.
Correction:
*I was using Daimonji as the name of the festival in Kyoto - but that is actually the name of one of the shapes being burnt into the mountain side. The actual name of the festival is Gozannookuribi.
How to Stay Alive When Sliding Down Waterfalls Head First and Backwards
What to do with a repeat visitor to Japan, who only has one full day between when his business trip ends and he returns home??
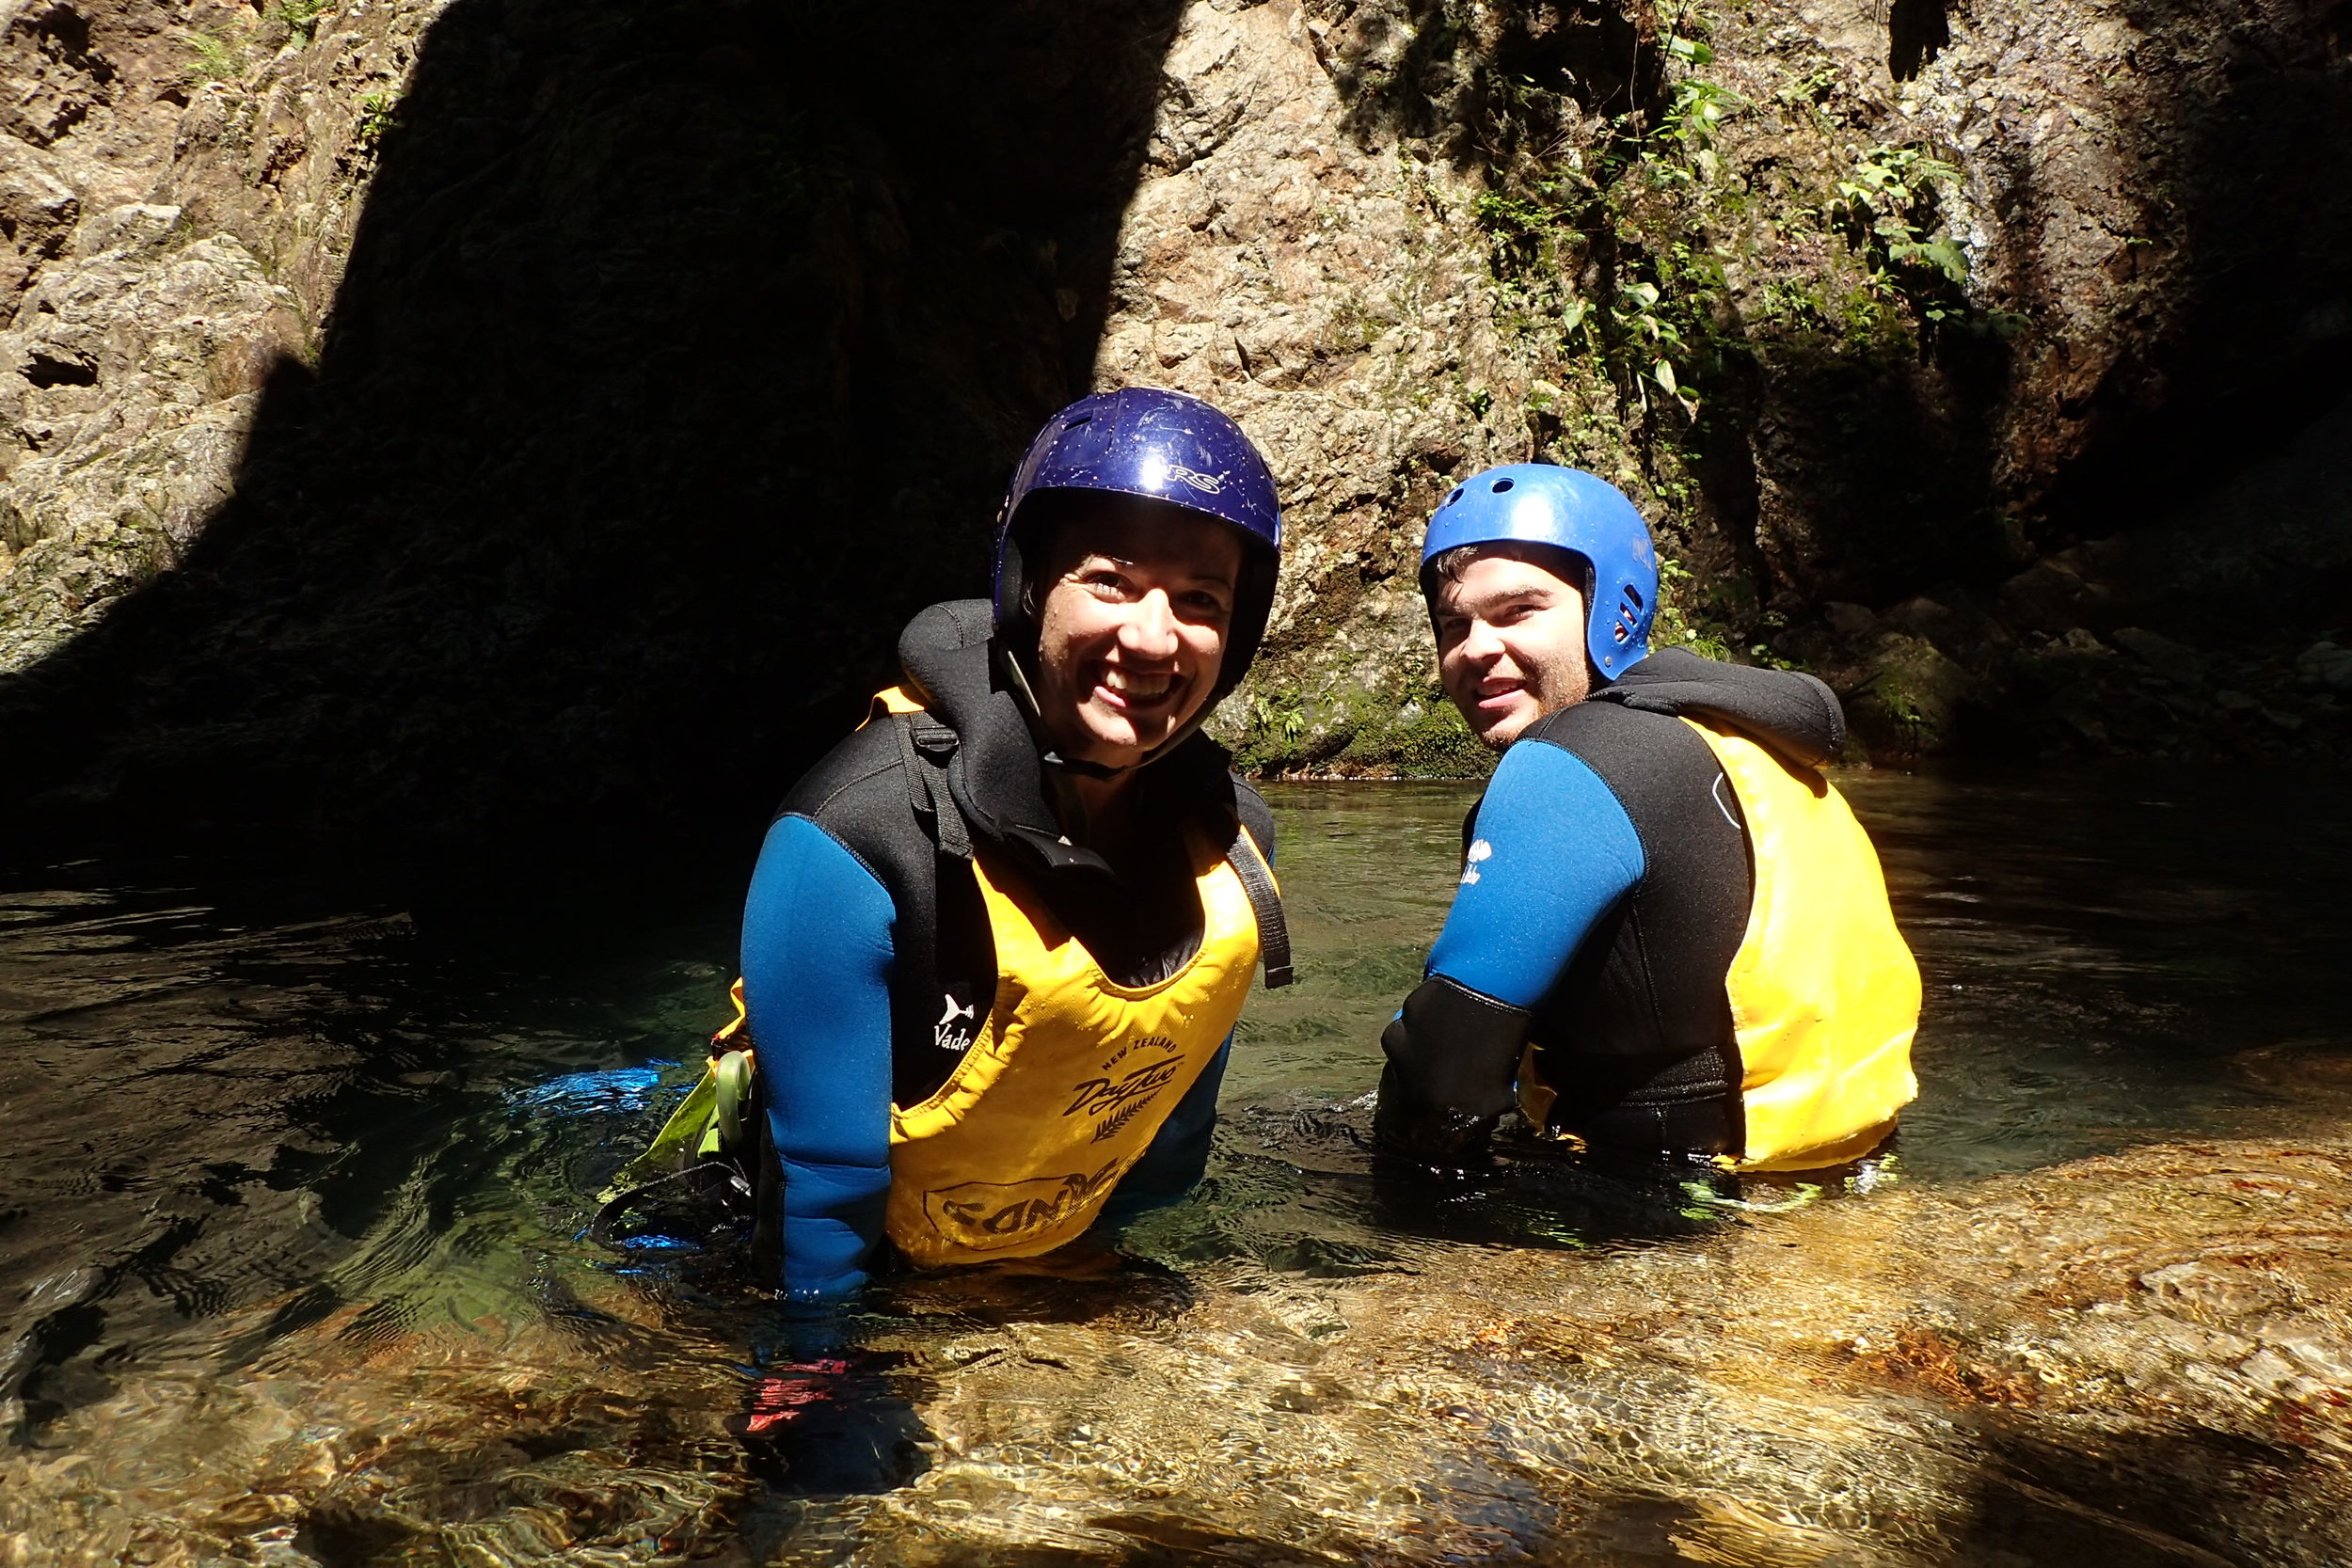
Active, intrepid and looking to get out of the city - the answer was easy - Minakami, Gunma, Japan. Minakami serves as a hub for adventure sports in Japan. Andrew and I got to try our hands at Canyoning. The best way to describe canyoning....it's like rafting, without the raft.
Canyoning gives "going with the flow" a whole new meaning.
Top-10 Canyoning Takeaways
1. Always be breathing out, or plug your nose.
The experience of canyoning is 10 times more enjoyable when you don't have water going up your nose!
2. Be the first in the canyon, start early!
We started our adventure at 8am and were able to do a whole lap in the canyon before other groups showed up. It's way more leisurely and playful when you have the canyon to yourself. The canyon can get really crowded during peak season (August) so try and go during shoulder season, or on weekdays to avoid the crowds.
3. Going down head first isn't as scary as you think.
You seem to stay shallower then going feet first. Just cover your face as you surface in case you come up by rocks.
4. Allow for adequate space between individuals when jumping together into pools.
5. Roll away from waterfalls.
If you keep the water rolling off your back, you can keep the fall from pulling you to the center and getting your head pounded. For this fall we rolled to the right and kept the water rolling down our left shoulder.
6. You don't need goggles.
The water is crisp and clear!
7. Pulling your own ripcord is hard, but rewarding.
Just make sure to stand up before you let yourself go so you don't butt flop.
8. Train timing is crucial!
There is a 15:46 Shinkansen from Ueno to Yuzawa and then a quick local train to Yubiso, that will have you arriving by 6:25pm. Just in time for a 7pm BBQ! Make sure to double check the schedule, because in the countryside the trains run much less frequently.
9. When canyoning, it's hard to look graceful....
Andrew pulls it off better than me....
10. You'll never need a raft in a river again.
Thank you to canyons.jp and our amazing guides Jumbo and Ko!
Logistics
Who we worked with: canyons.jp
A great provider with facilities in both Minakami and Okutama. Mix of foreign and local staff. All knowledgeable and friendly. They know what makes a great keepsake and are sure to capture the best moments on their waterproof camera. They have shuttle services that they run from the major train stations so check-in with them about their schedules - very helpful!
How to get there:
There are also local buses that run in the area when trains stop. A good backup option if you end up arriving once the local trains have stopped running.
*Check Hyperdia for schedules.
Summer on the Islands - Izu Shodo
Hama-no-yu Onsen - looks out onto the Izu Peninsula.
島 (shima/jima) = Island
The closest of the inhabited Izu Islands is two hours away from Tokyo by ferry, the farthest is seven. The islands are an outdoor adventure lovers haven with plenty of ocean side camping, natural onsen and scenic hikes. You also have access to creatures like dolphins and sea turtles in their natural habitat, so much better than the zoo.
I've had the privilege of visiting Oshima, the largest and closest of the chain of islands. It is an absolute gem.
The food is stellar. Unique. They have these tasty chilis they used instead of wasabi because there are no rivers on the island that wasabi could be grown in.
The scenery is gorgeous - everything from black sand dunes, to coral reefs for snorkeling. It was so surprising to find such a subtropical paradise just two hours from Tokyo.
Mt Mihara rim hike
Snorkeling at Toshiki Camp Ground
I made the journey during rainy season and got to experience peak bloom of the hydrangeas. It was breathtaking.
And beyond the natural beauty, the island is home to some really amazing people. Especially, Suguru, my host on Oshima.
Best host. Waving goodbye to us from shore as the ferry pulls away.
Suguru runs a guesthouse called Island Star House. He did all the renovations on the home, by himself over the course of three years. He'd work Monday through Friday and then ferry over to the island, build Saturday and Sunday and be back in Tokyo for work on Monday. Talk about dedication and vision.
Photo courtesy of Island Star House.
Here is a little bit of information to help you plan your own adventure!
Stay
Do
- Volcano museum
- Swim/snorkel by the Toshiki camp grounds
- Hama-no-yu Onsen
- Mt Mihara Hike
Eat
- Nantoukan - traditional island food, super yummy, be sure to go with someone who can speak Japanese, and even better if you can call ahead and let them know you are coming
- Takoyaki - he's a master, with a little red food truck, you'll smell the delicious food before you spot him.
- Ice cream from the Burratohouse farm.
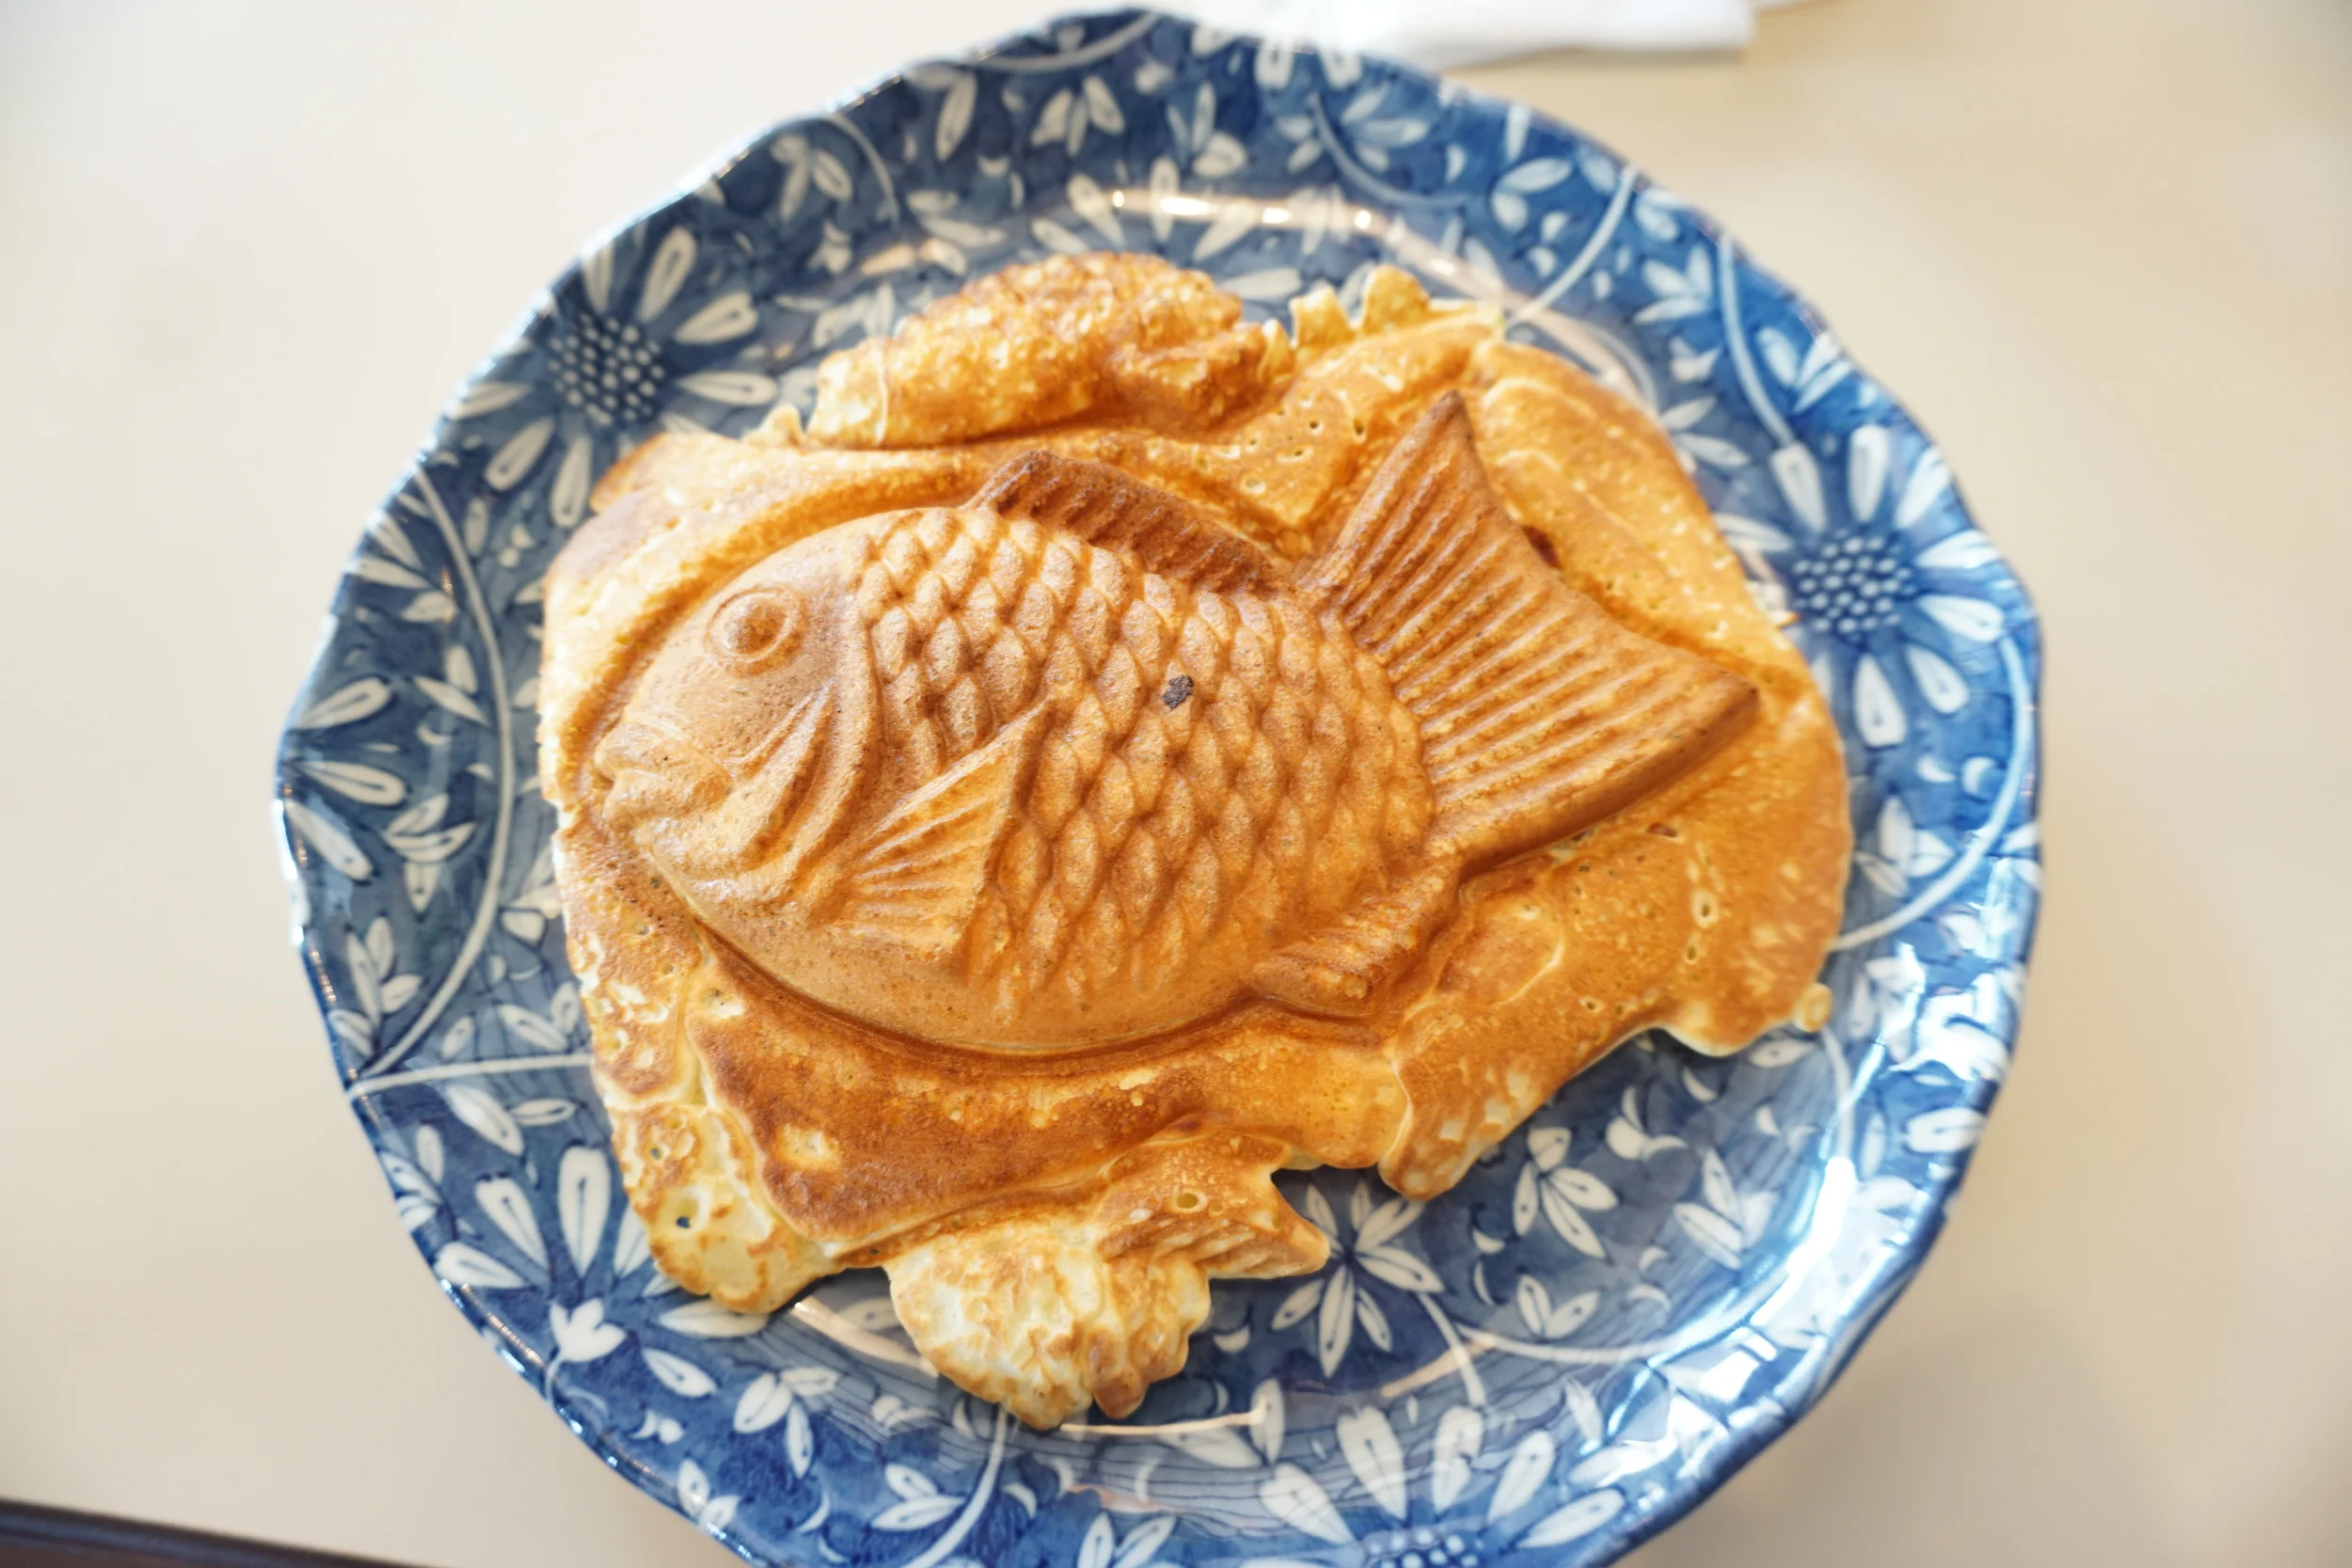
- Taiyaki - savory and sweet options available, so delicious - set inside another guesthouse.
Very much looking forward to island hopping this summer, below are a few of the other islands and what they are known for:
- Niijima (surfing)
- Mikurajima (dolphins)
- Hachijojima (sea turtles)
- Shikinejima (beaches and onsen)
- Aogashima (only accessible by helicopter, an unbelievable double volcano!)
- Kouzushima (camping and diving)
Another random fun fact to peak your interest in visiting: During the Edo period, Nii-jima, Miyake-jima, and Hachijō-jima served as places of exile for criminals....I can imagine that was isolating, but what amazing water front property they had!


